Sunday, 31 August 2014

Up on the roof

There may well be more than one blog relating to the roof, for a couple of reasons.  For one, it's not block work so a new phase of work has begun.  But more importantly the roof is a key design feature for the house, simple in materials but complex in shape and designed to stand out.

Without going in to the details of the design right now, the first phase of building the roof has started over the front living room, no pre-built trusses just a load of timber fashioned into shape.


Above, from the front of the house the first phase of the roof carpentry is visible over the hallway (left) and the front living room (right).  The hole on the left hand side is for the glass that will cover the hallway and allow light to flood the stairs.  The two holes that can just be seen on the right are for the windows that will light up the front living room.


Above the carpentry for the windows above the living room are clear, the view will be the trees and the sky.


Close up on the roof above the front living room.


Above, looking down to the hallway, the stairs is under the scaffolding in the foreground.  The toilet and cloak room can be see in the middle of the photo.


Saturday, 23 August 2014

Stairway to heaven

Not very subtle - the title that is, we have a stairs, 2 stairs actually.  

Obviously they are not finished, not much is.  But these are custom built, fabricated in steel stairs for our house.  And it is great to see a new material/feature on sight.

I know all readers will have studied the plans and understand why we have 2 stairs, but in case you haven't been paying attention....

Stairs number 1: traditional hallway stairs connecting the ground floor (upstairs living space) to the lower floor (downstairs bedroom space)

Stairs number 2: Connecting the decking to the ground, something the architect felt strongly about.

What's that, you want to see the pictures?  OK then....


When I say its not finished, that's because we need to decide what the steps will look like.  As can be seen each step is waiting for an insert.  Also, there is no handrail.  The step above is from the deck to the ground at the back of the house.


A better idea of the deck stairs above, and below....


The internal stairs is similar, we need to decide what inserts we want.  The chair is not part of the stairs...


Saturday, 16 August 2014

Deck the halls

The frame went up last week, this week has been about the evolving frame and some subtle additions to the structure of the house that now give an inkling of what the house might feel like to live in.

First of all the deck, it is now possible to view the floor of the cantilever room and the outer deck.  As well as this, the lower ground floor externals look more like they should do outside the kids bedroom with the floor above taking shape and the external ground becoming something that you can walk on easily.


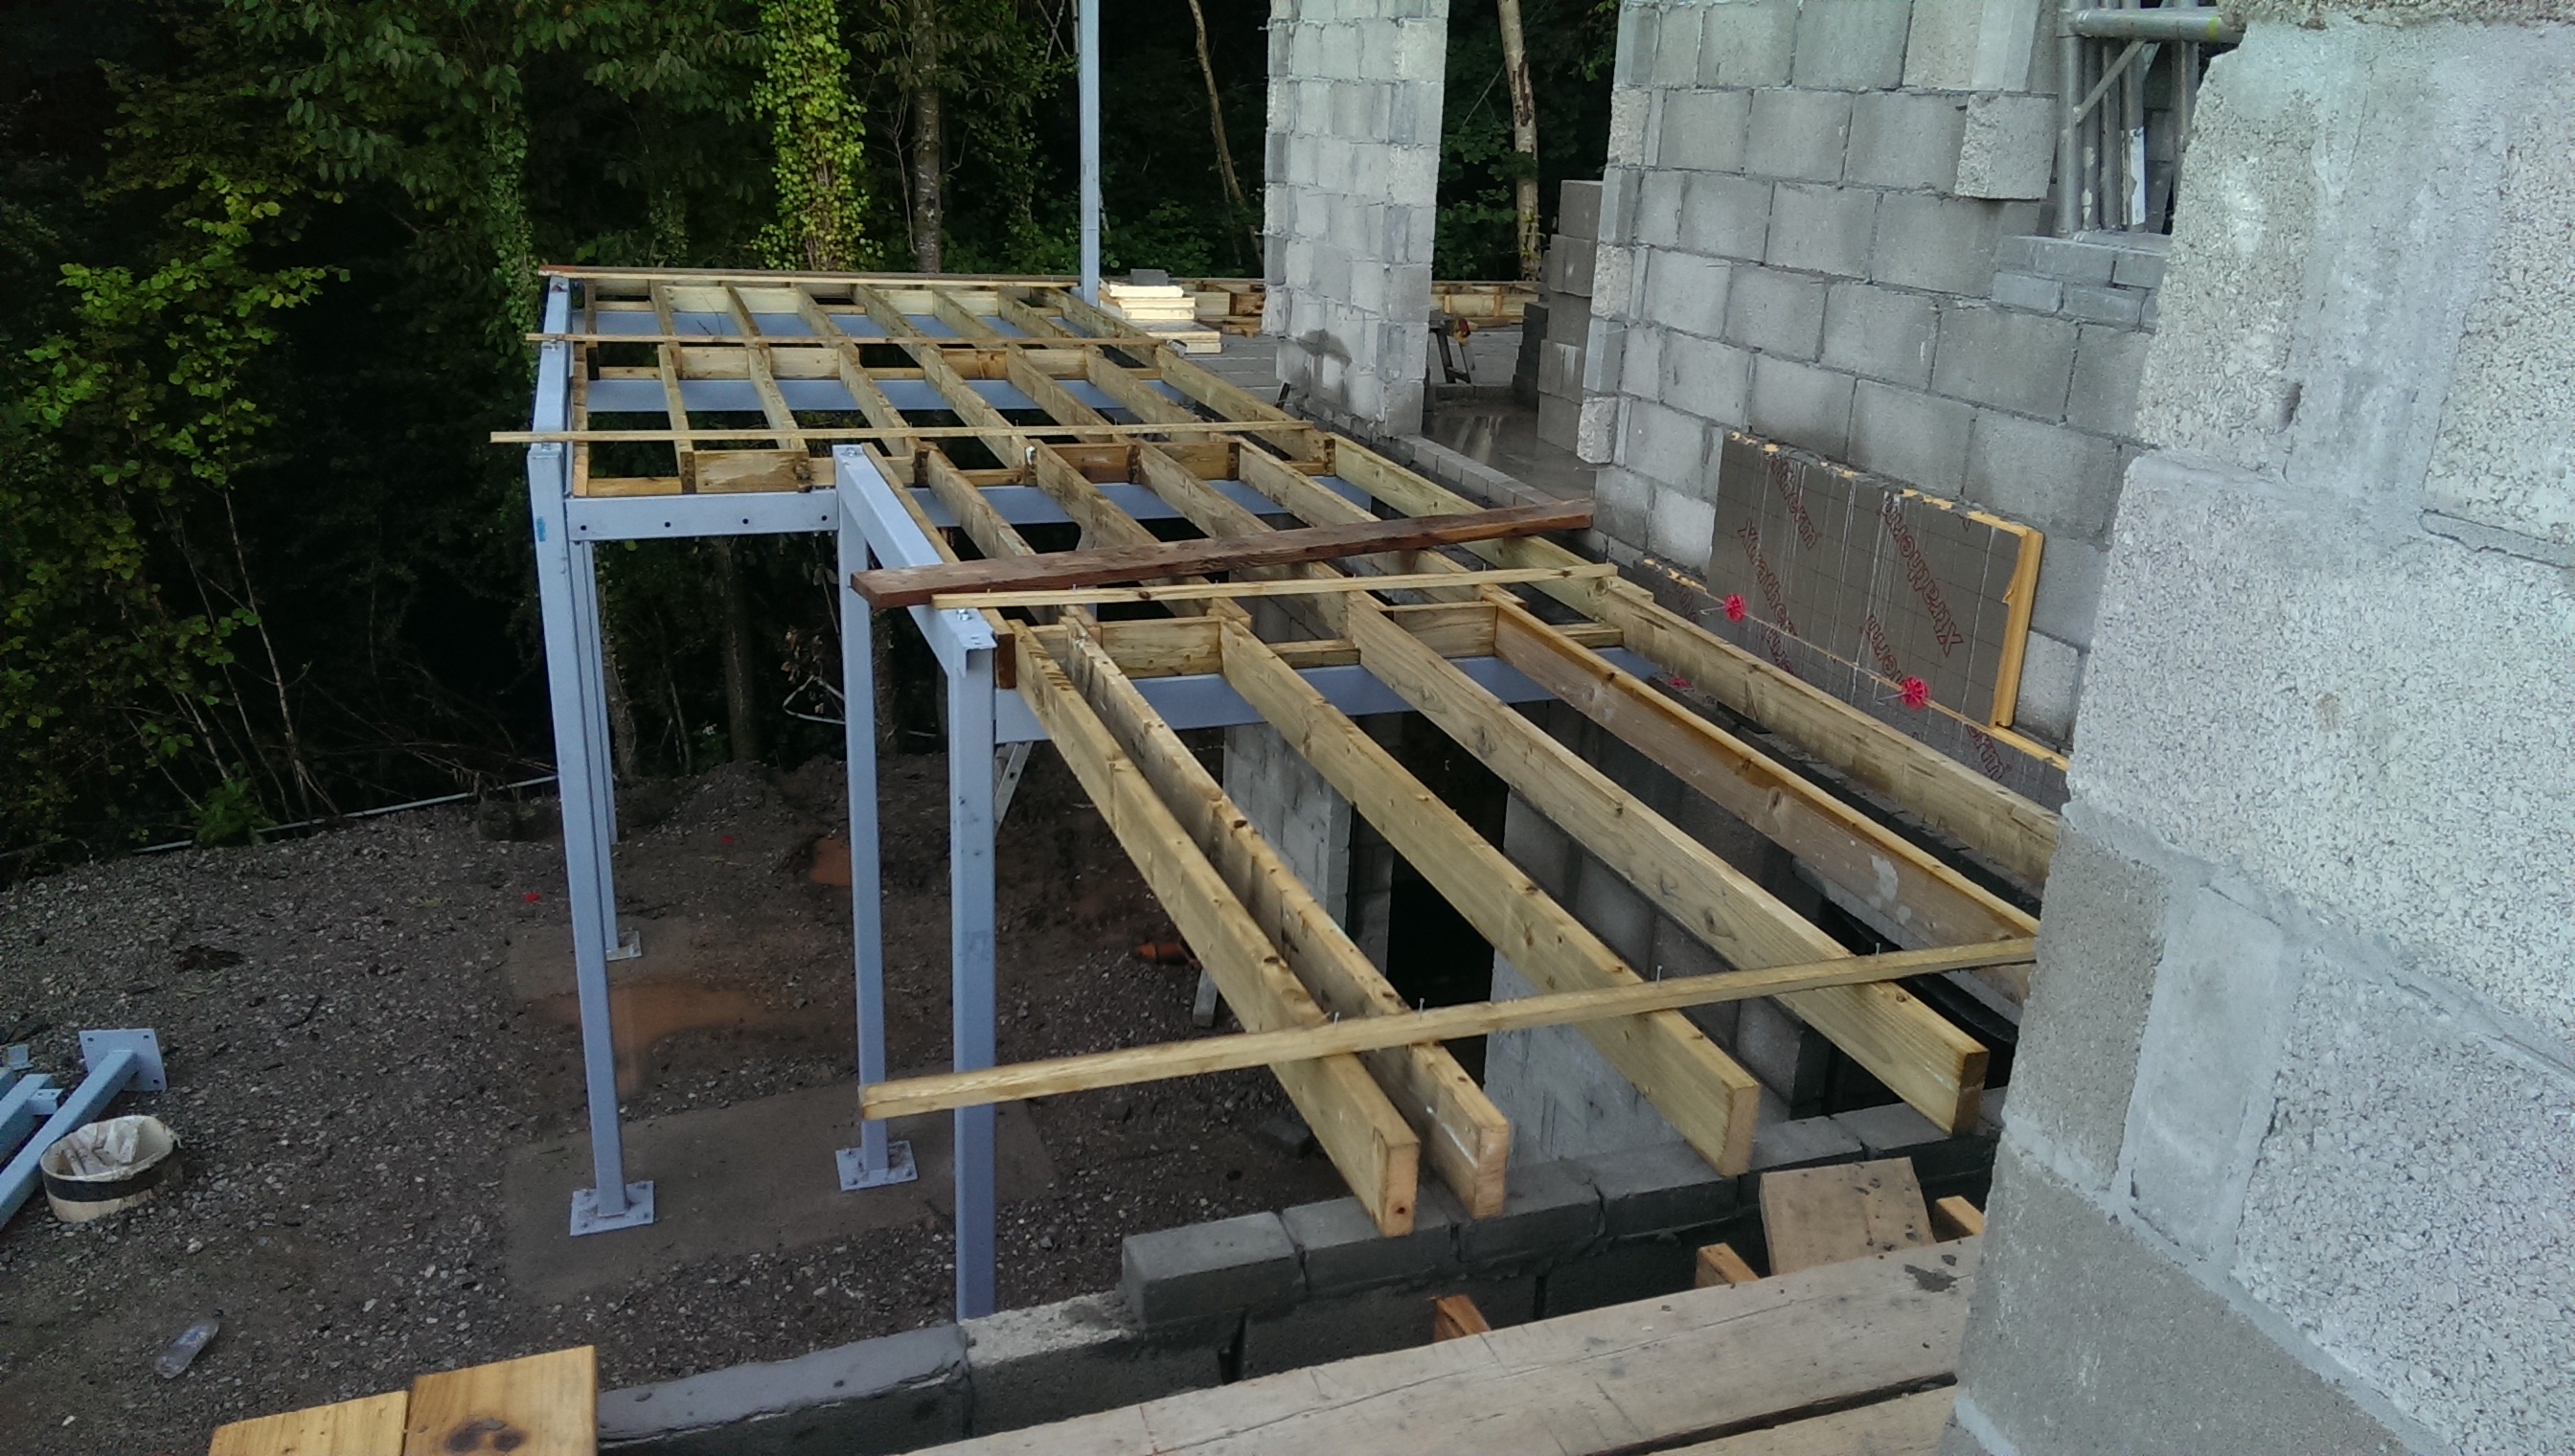
In the previous blog the steel frame (galvanised) was installed but that was it...above you can see the block and beam for the floor of the cantilever room.  The empty frame around it will be a deck outside and around the room.  Accessible from a number of places, including the snug at the front of the house.


Above, another shot of the cantilever room and its block and beam floor built.  This one was taken from inside the snug and gives an idea of the views from the snug.


Above, the timbers to support the deck are cut and secured.  We want the deck levels to be the same as the internal flooring.


From the lower ground floor, life under the deck.  My lovely model demonstrates the scale of the frame and the deck,  the view above is along the side of the house where Ellie (who will be in Liverpool when we move in) and Caitlin have their bedrooms.


The view along the back of the house with deck taking shape above.  To the left is Ellie's room, in the middle is the master bedroom.


Above the view from Ellie's room and Caitlin's room


Inside the ground level floor what has become apparent is how high the ceilings will be in the living rooms.  Above you can see how high the ceiling will be in the front living room, this picture shows the doorway in the kitchen that leads to the hall where our lovely model again demonstrates the how high the ceiling will be in the kitchen over this wall.


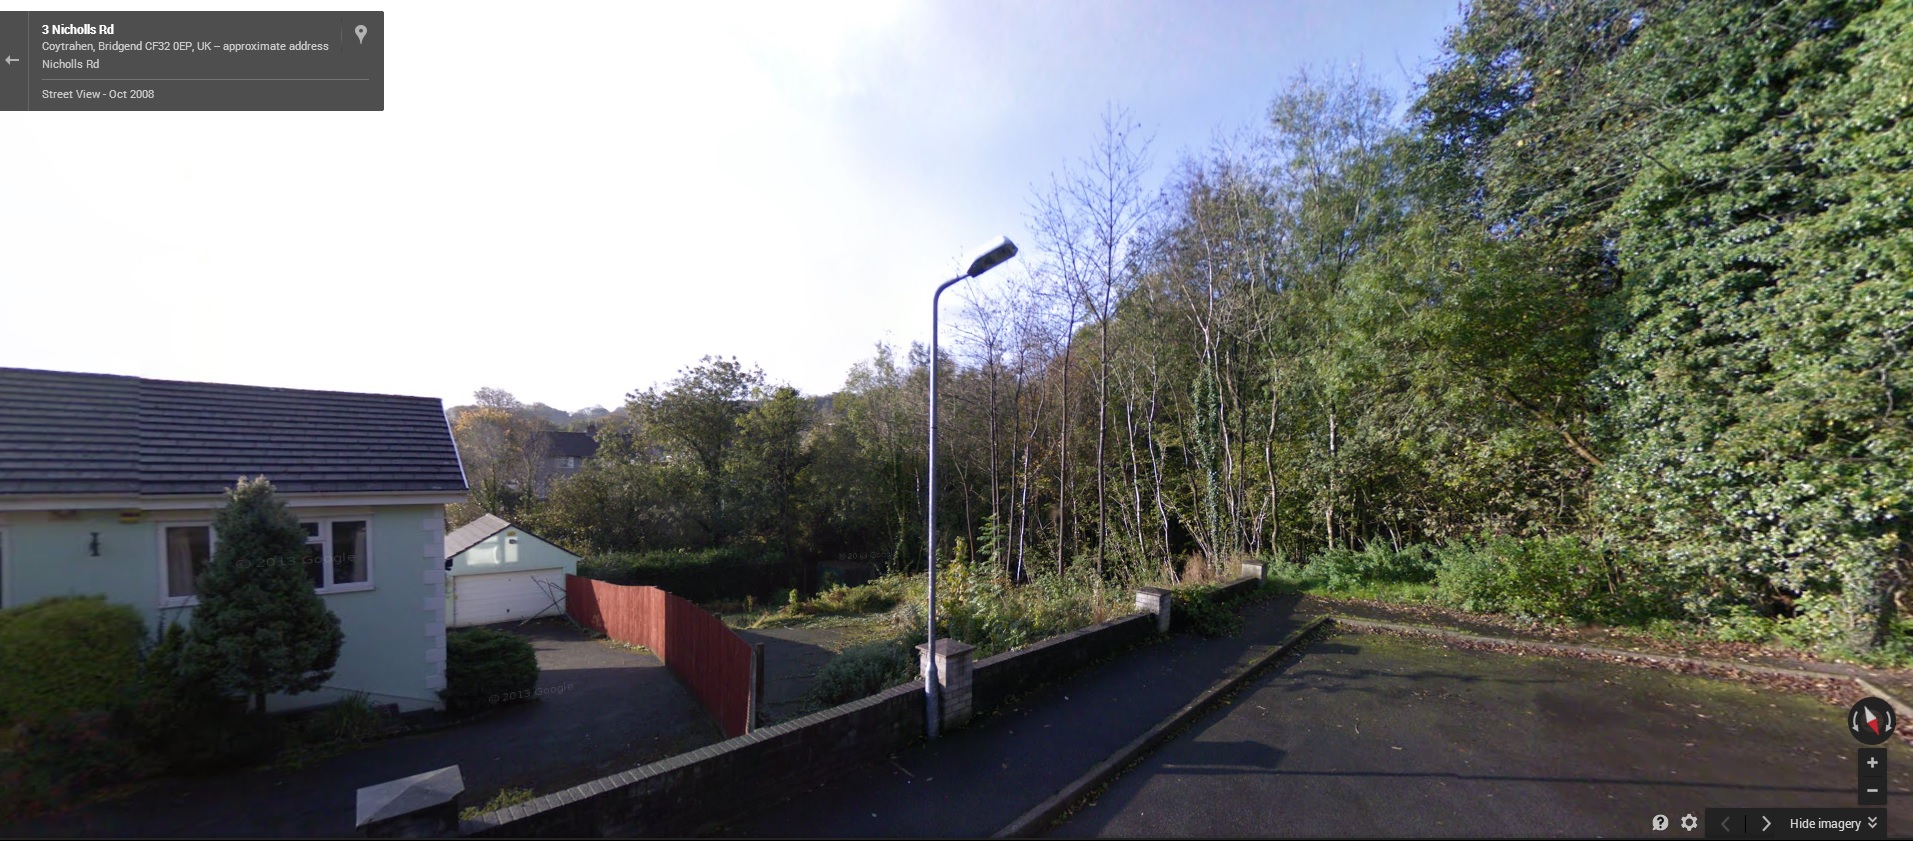
Above, and finally what the house looks like from the road - above August 2014, below October 2008 (courtesy of Google street view).  


Saturday, 9 August 2014

Freeze frame

Yes!

A new material has arrived.  Steel.  I love steel.  Well, I do after looking at 17-18000 concrete blocks since April.  Steel is the best.  Steely steel steel.

Anyway, what may have not been clear to readers, unless you looked at the post that referenced the plans, is that there is a bigger structure around the side and the back of the house that supports an additional room and a large deck.

The additional room is cantilevered above the ground below and in to the trees.  Supporting all this is a custom made steel frame.  This has been made to measure off site, galvanised and then erected on site.  The pictures, as ever, probably explain it better.


From the back of the house, most of the frame you see will support a deck across the entire back of the house that extends the upper living space by about 3 meters.


As an aside, and it would be easy to miss, the land has been built up outside the back of the house making the rainwater harvesting tank disappear along with the other drainage works.


Above, from the master bedroom you can see the L shape in the frame.  The part of the frame that juts out will support the steps down to ground level - joining up the living spaces to create a communal and social living space (something Kevin McLoud would say).


Above, not something we have been able to appreciate up until now.  Looking from downstairs through the gap that will take the stairs you can see the frame for the front door.  As the front door, and the roof above it, will be glass the daylight and the view of the trees should be quite a sight first thing in the morning when climbing the stairs.


Again, something that is now clearer than it has been.  From left to right on the top floor we have the dining room, the kitchen and behind the garage the utility room.  Under the utility room window is the rest of the deck above the master bedroom.


The cantilevered room is defined by the part of the steel frame that runs from the house on the left to the 2 uprights.  Everything else will support the deck around it.


Another view of the cantilever room from the dining room, the cantilever room will only be accessible from the dining room.  This picture shows how close to the trees the room and the deck will be.


Last photo.  We do sometimes think it would be cool to be able to park the car under the cantilever room, it works with the dumper - but a mini cooper doesn't have the torque or the 4WD,  This photo gives a view of the steel work from ground level.

There are a bunch of other photos here