I'm giving up the role of pretender......
Still no schedule but let's not worry about that. We are starting to see more external finishes now, which is great. Below are some photos of the external walls that will be rendered and painted.
Above, the back of the utility room, smooth beautiful render.
Above, outside the front living room above the cantilever some more render.
Next to the stone wall, the first render can be seen, the rough render. This is applied then scratched to make the final coat adhere.
Back of the house, the opening for the dining room doors can be seen between the two newly rendered walls. Smooth.
Final render shot, the wall of the master bedroom. Nice.
In other news the electrician has started the first fix, he is laying cables for electric, tv and ethernet. With the advent of smart tv's we are taking the opportunity to run a wired network through the house on CAT6 cable. So a lot of rooms will have a cluster of sockets comprising tv, power and ethernet sited where we plan to hang the tv's.
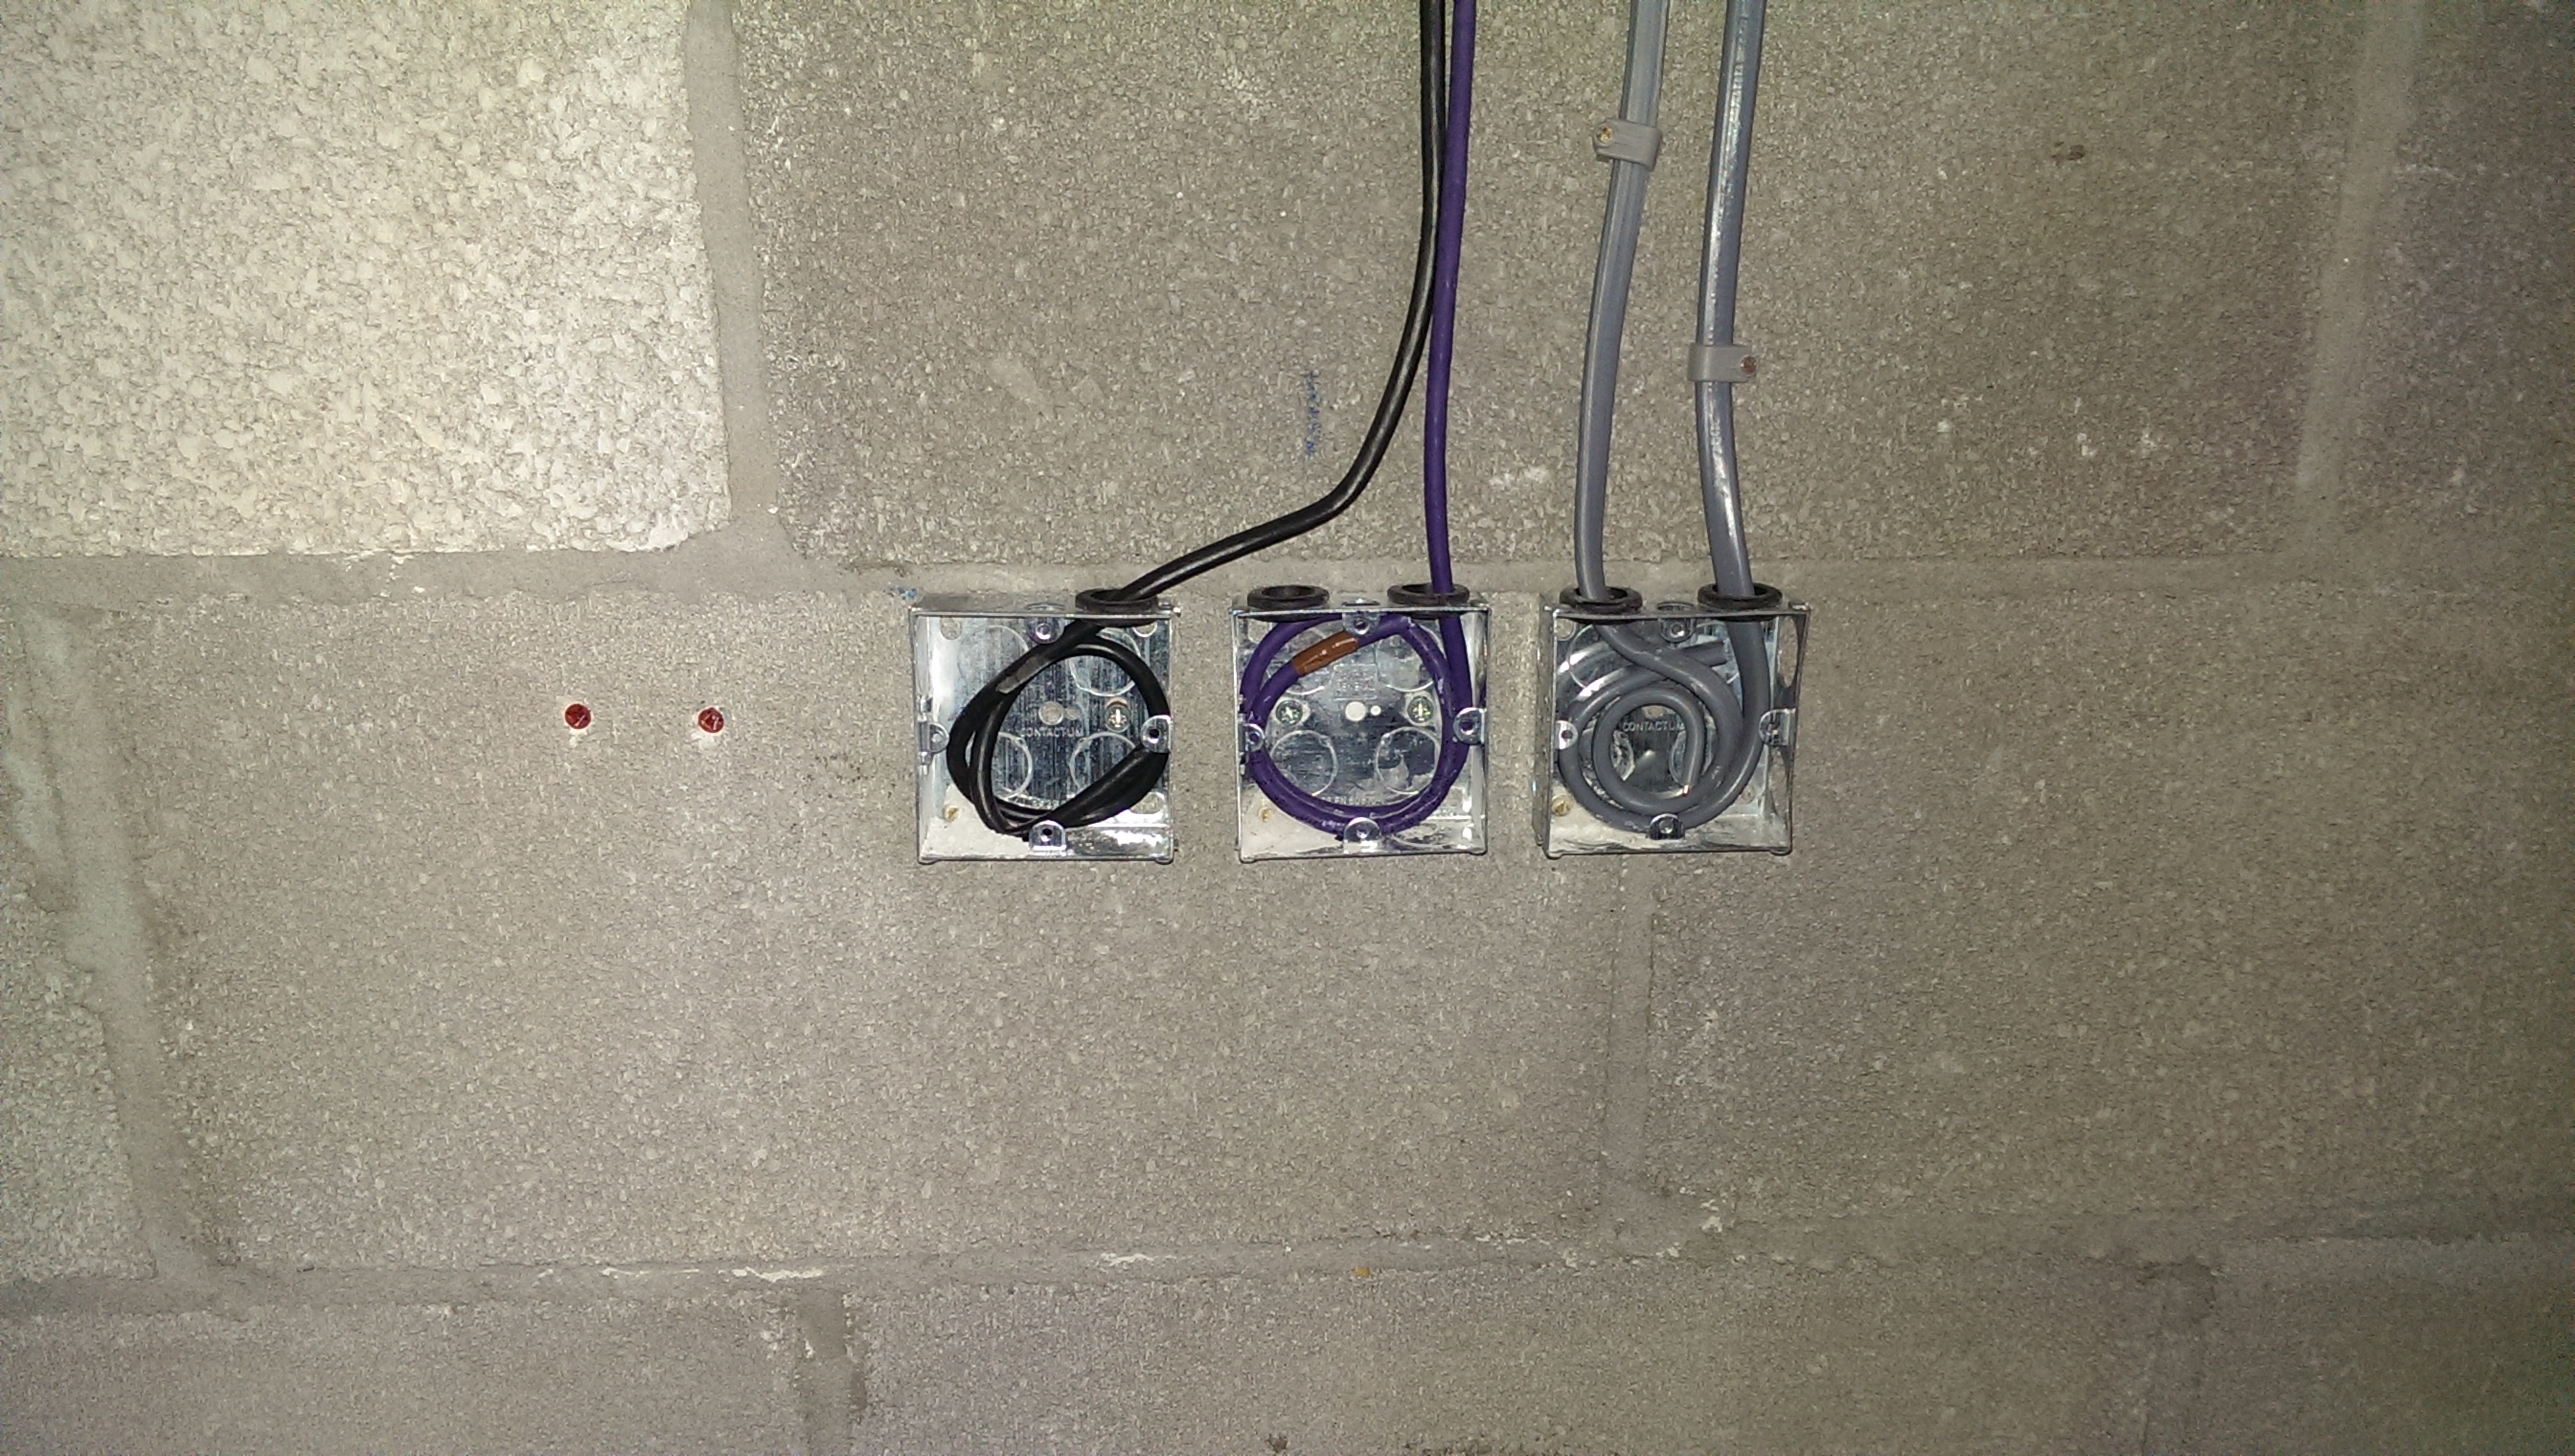
The master bedroom. Left to right we have tv, ethernet and power.
The hallway downstairs. Wires for lights and boxes to house switches can be seen. Plasterboards will be fixed to the walls once all the cables are run.
In any room downstairs you can see how the cables are being run through the house. Grey for power, purple for ethernet and black for tv.
Last power shot, the cables and detail for the power being run into the utility room.
And.....
finally.....
well done to Rhian for completing the Diff. The Cardiff Half Marathon last week - we are all very proud. And, Rhian raised over £200 for charity. Well done to the Dando family as well.
Saturday, 11 October 2014
Thursday, 2 October 2014
She's electric
Roller coaster is not the word. We will not be in by the start of November, we might be in by Christmas, the house should be finished by the end of January. No one said it was going to be easy. Anyway, since the last blog we have been trying to get to a point where we have a schedule, tricky but we are getting there.
Putting that to one side, here is what has changed....
The stone wall, above, that will cover the front left hand corner is coming on, still our favourite feature so far if only because this is really the first past of the house that is finished.
The view from the other side of the stone wall, Caitlins window looking out.
And the corner wall as it looks now. As high as it can go without removing the scaffolding.
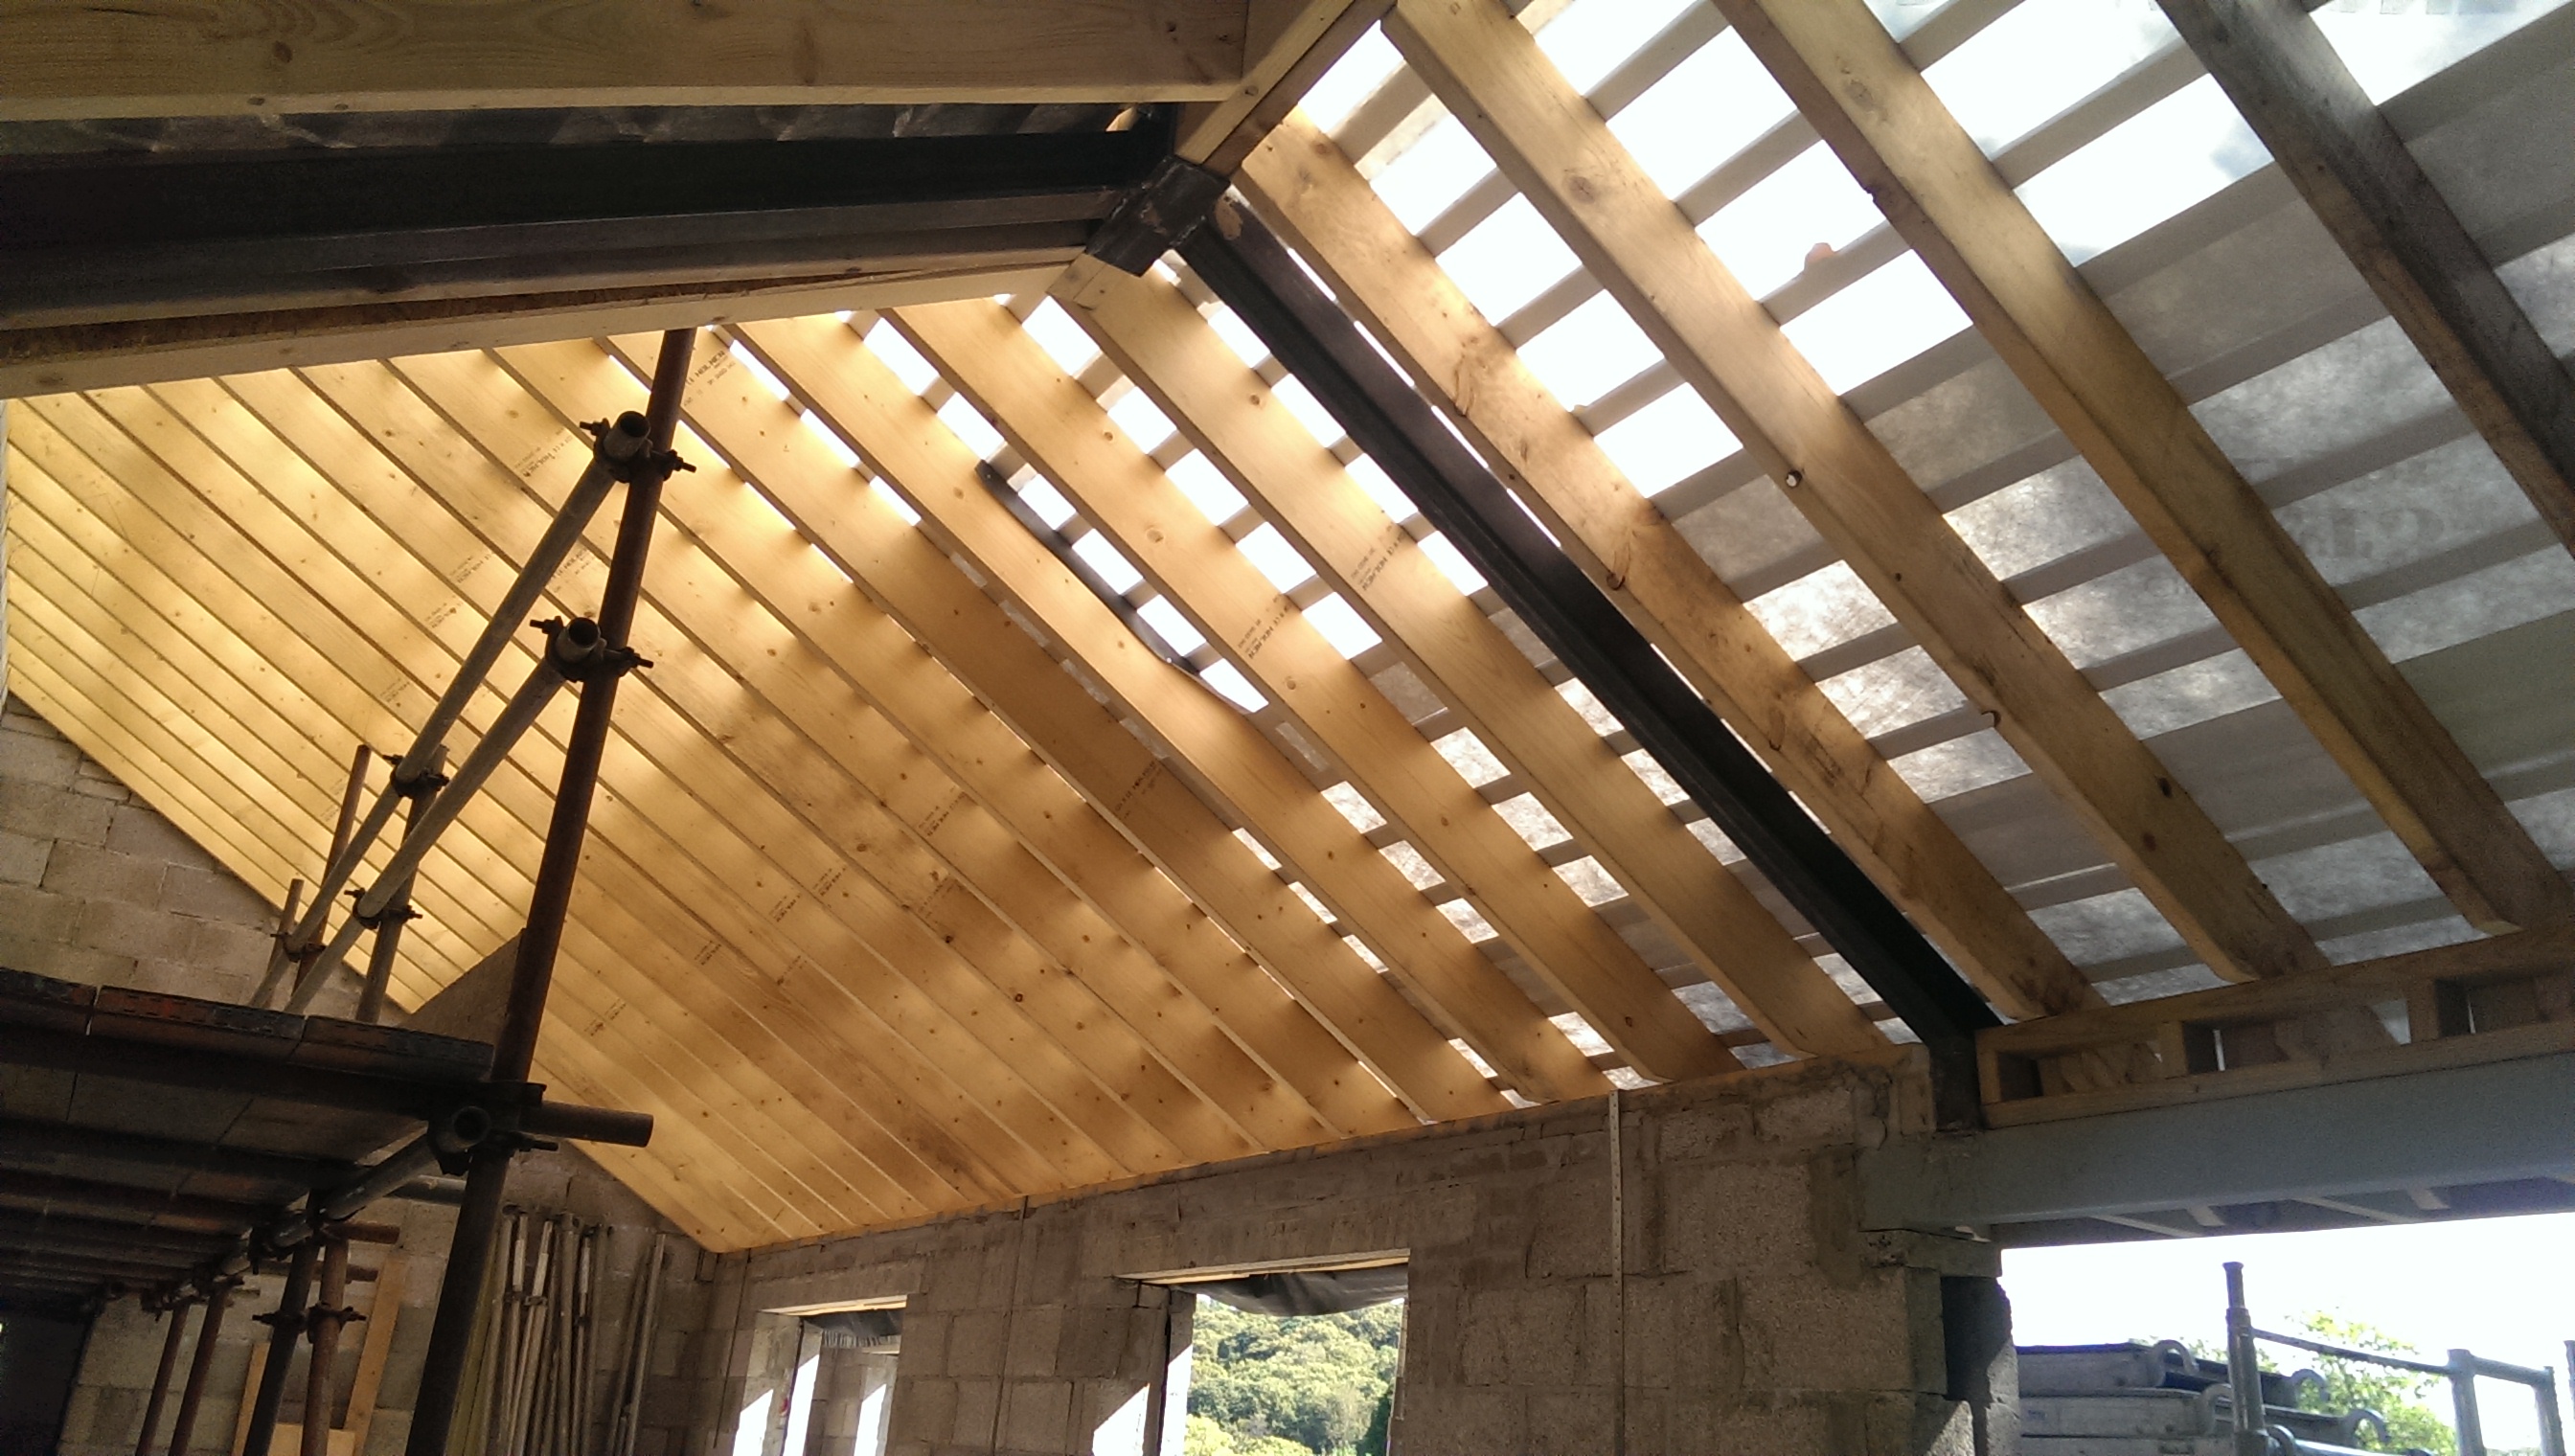
Above, from the inside, the roof has the felt and batton on,
The soffits are starting appear, painted, the soffits are above the windows below the roof.
Above the master bedroom we have a fibre glass flat roof. This is necessary because above this will be decking, Decking is not waterproof, therefor below it needs to be.
The back is now tiled...
Downstairs there are batons on the roof ready to support the plasterboards that will form the ceiling.
Tiling started on the front, and...
Now completed together with 2 ceiling windows,
And finally...
Putting that to one side, here is what has changed....
The stone wall, above, that will cover the front left hand corner is coming on, still our favourite feature so far if only because this is really the first past of the house that is finished.
The view from the other side of the stone wall, Caitlins window looking out.
And the corner wall as it looks now. As high as it can go without removing the scaffolding.
Above, from the inside, the roof has the felt and batton on,
The soffits are starting appear, painted, the soffits are above the windows below the roof.
Above the master bedroom we have a fibre glass flat roof. This is necessary because above this will be decking, Decking is not waterproof, therefor below it needs to be.
The back is now tiled...
Downstairs there are batons on the roof ready to support the plasterboards that will form the ceiling.
Tiling started on the front, and...
Now completed together with 2 ceiling windows,
And finally...
Thursday, 18 September 2014
Don't you forget about me
An apt title for the blog for a number of reasons, but I won't dwell on that - I'll just say it's good to post again and to show some progress.
The last post showed some of the roof construction, primarily the beams, going up. This work is now complete as is lots of the patching then needed to cut the walls into the roof, do the leading work, complete other bits and pieces.
Here are some of the bits and bobs.....
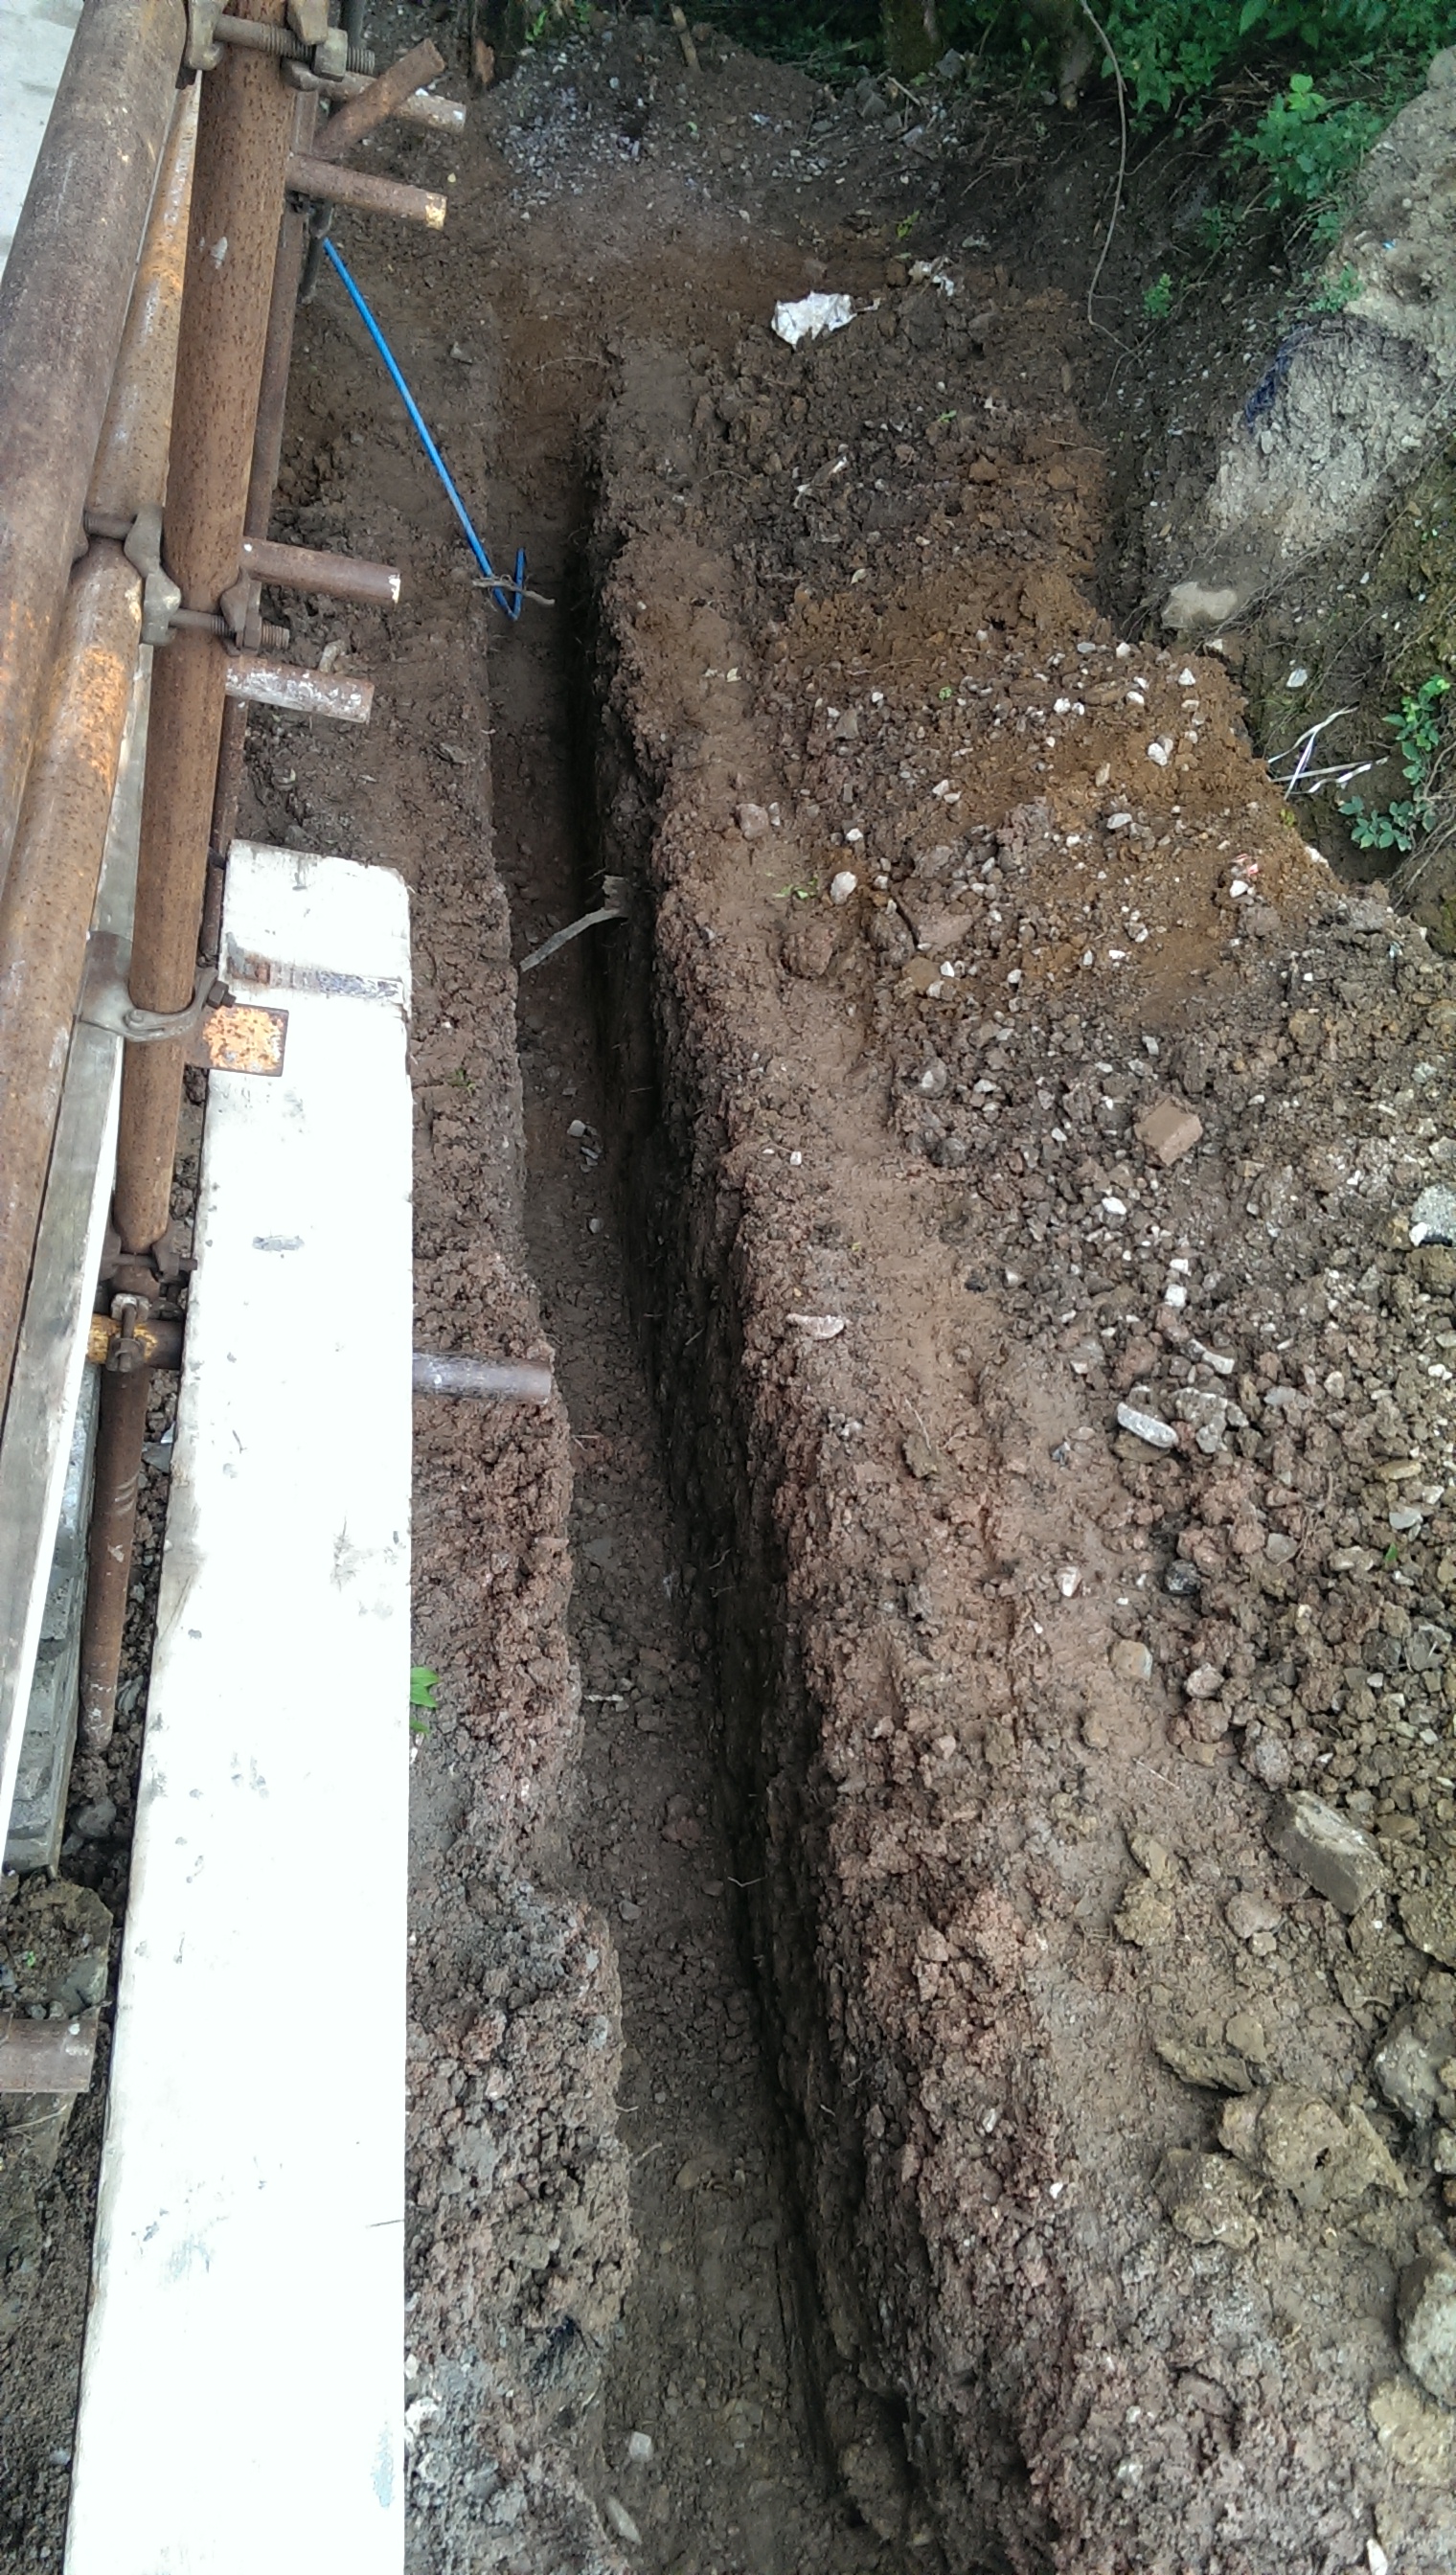
We need water, here is the trench and pipe ready. This runs along the front of the house.
We also need electricity, this trench runs from the pavement to the front of the house. The supply is now connected and the trench in the road filled in again. We now need to ring nPower to fit the meter
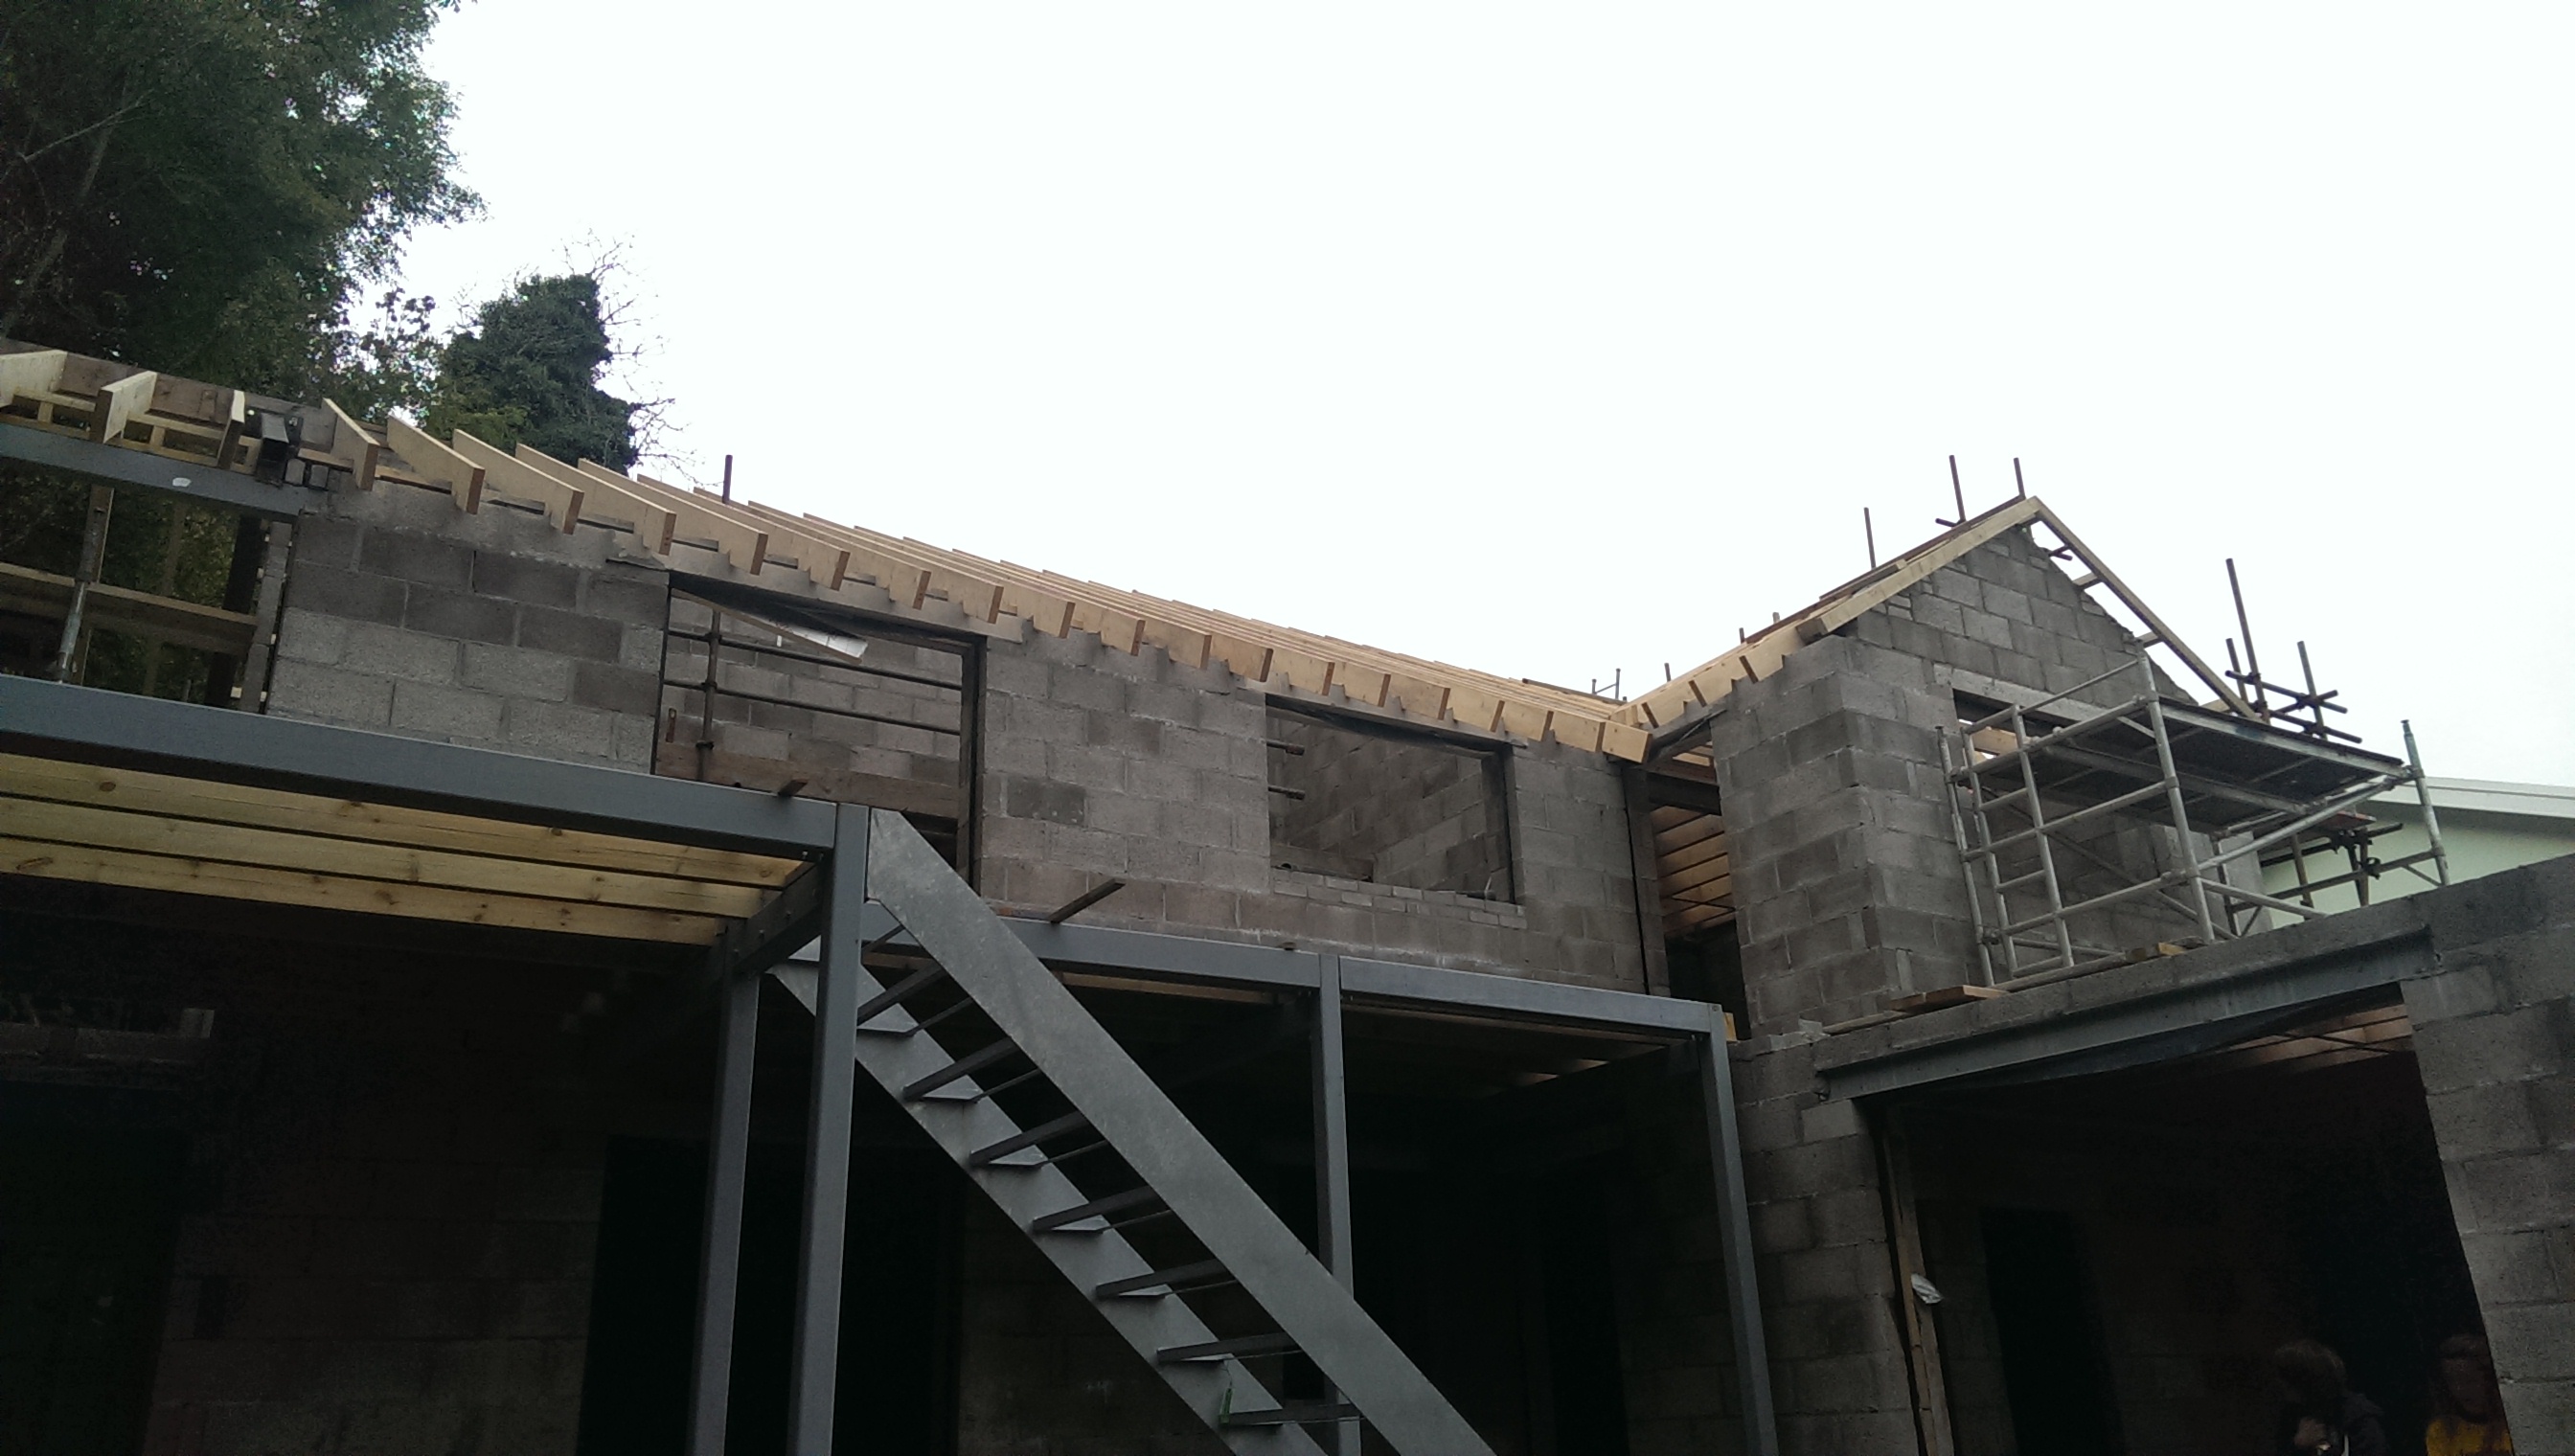
The roof starts to take shape on the back of the house and over the utility room.
Taking my life in my hands to scale the scaffolding and get a picture on top of the roof catching the view down across the road.
The 2 photos above show that the house looks quite imposing from ground level at the back.
Aside from a cheeky 14 year old (happy birthday Caitlin), this is the first photo of the roof structure over the cantilever room on the far left - a very exciting moment as this is almost the signature room of the whole design. Seeing how it was going to look was highly anticipated.
A view of the cantilever room from the front of the house at ground level.
Another photo of the cantilever room, this time from the kitchen looking out to the trees.
This above is potentially the our favourite photo so far (of all of them). This is the first bit of the whole project that is a finish, i.e, this is what the outside of the part of the house will look like, so when this wall is complete it will mark something that is complete and won't be covered up. Aside from that, the craftsmanship and the stone are beautiful. The feature wall will wrap the front right corner of the house.
Above, the wall wrapping round to the front of the house.
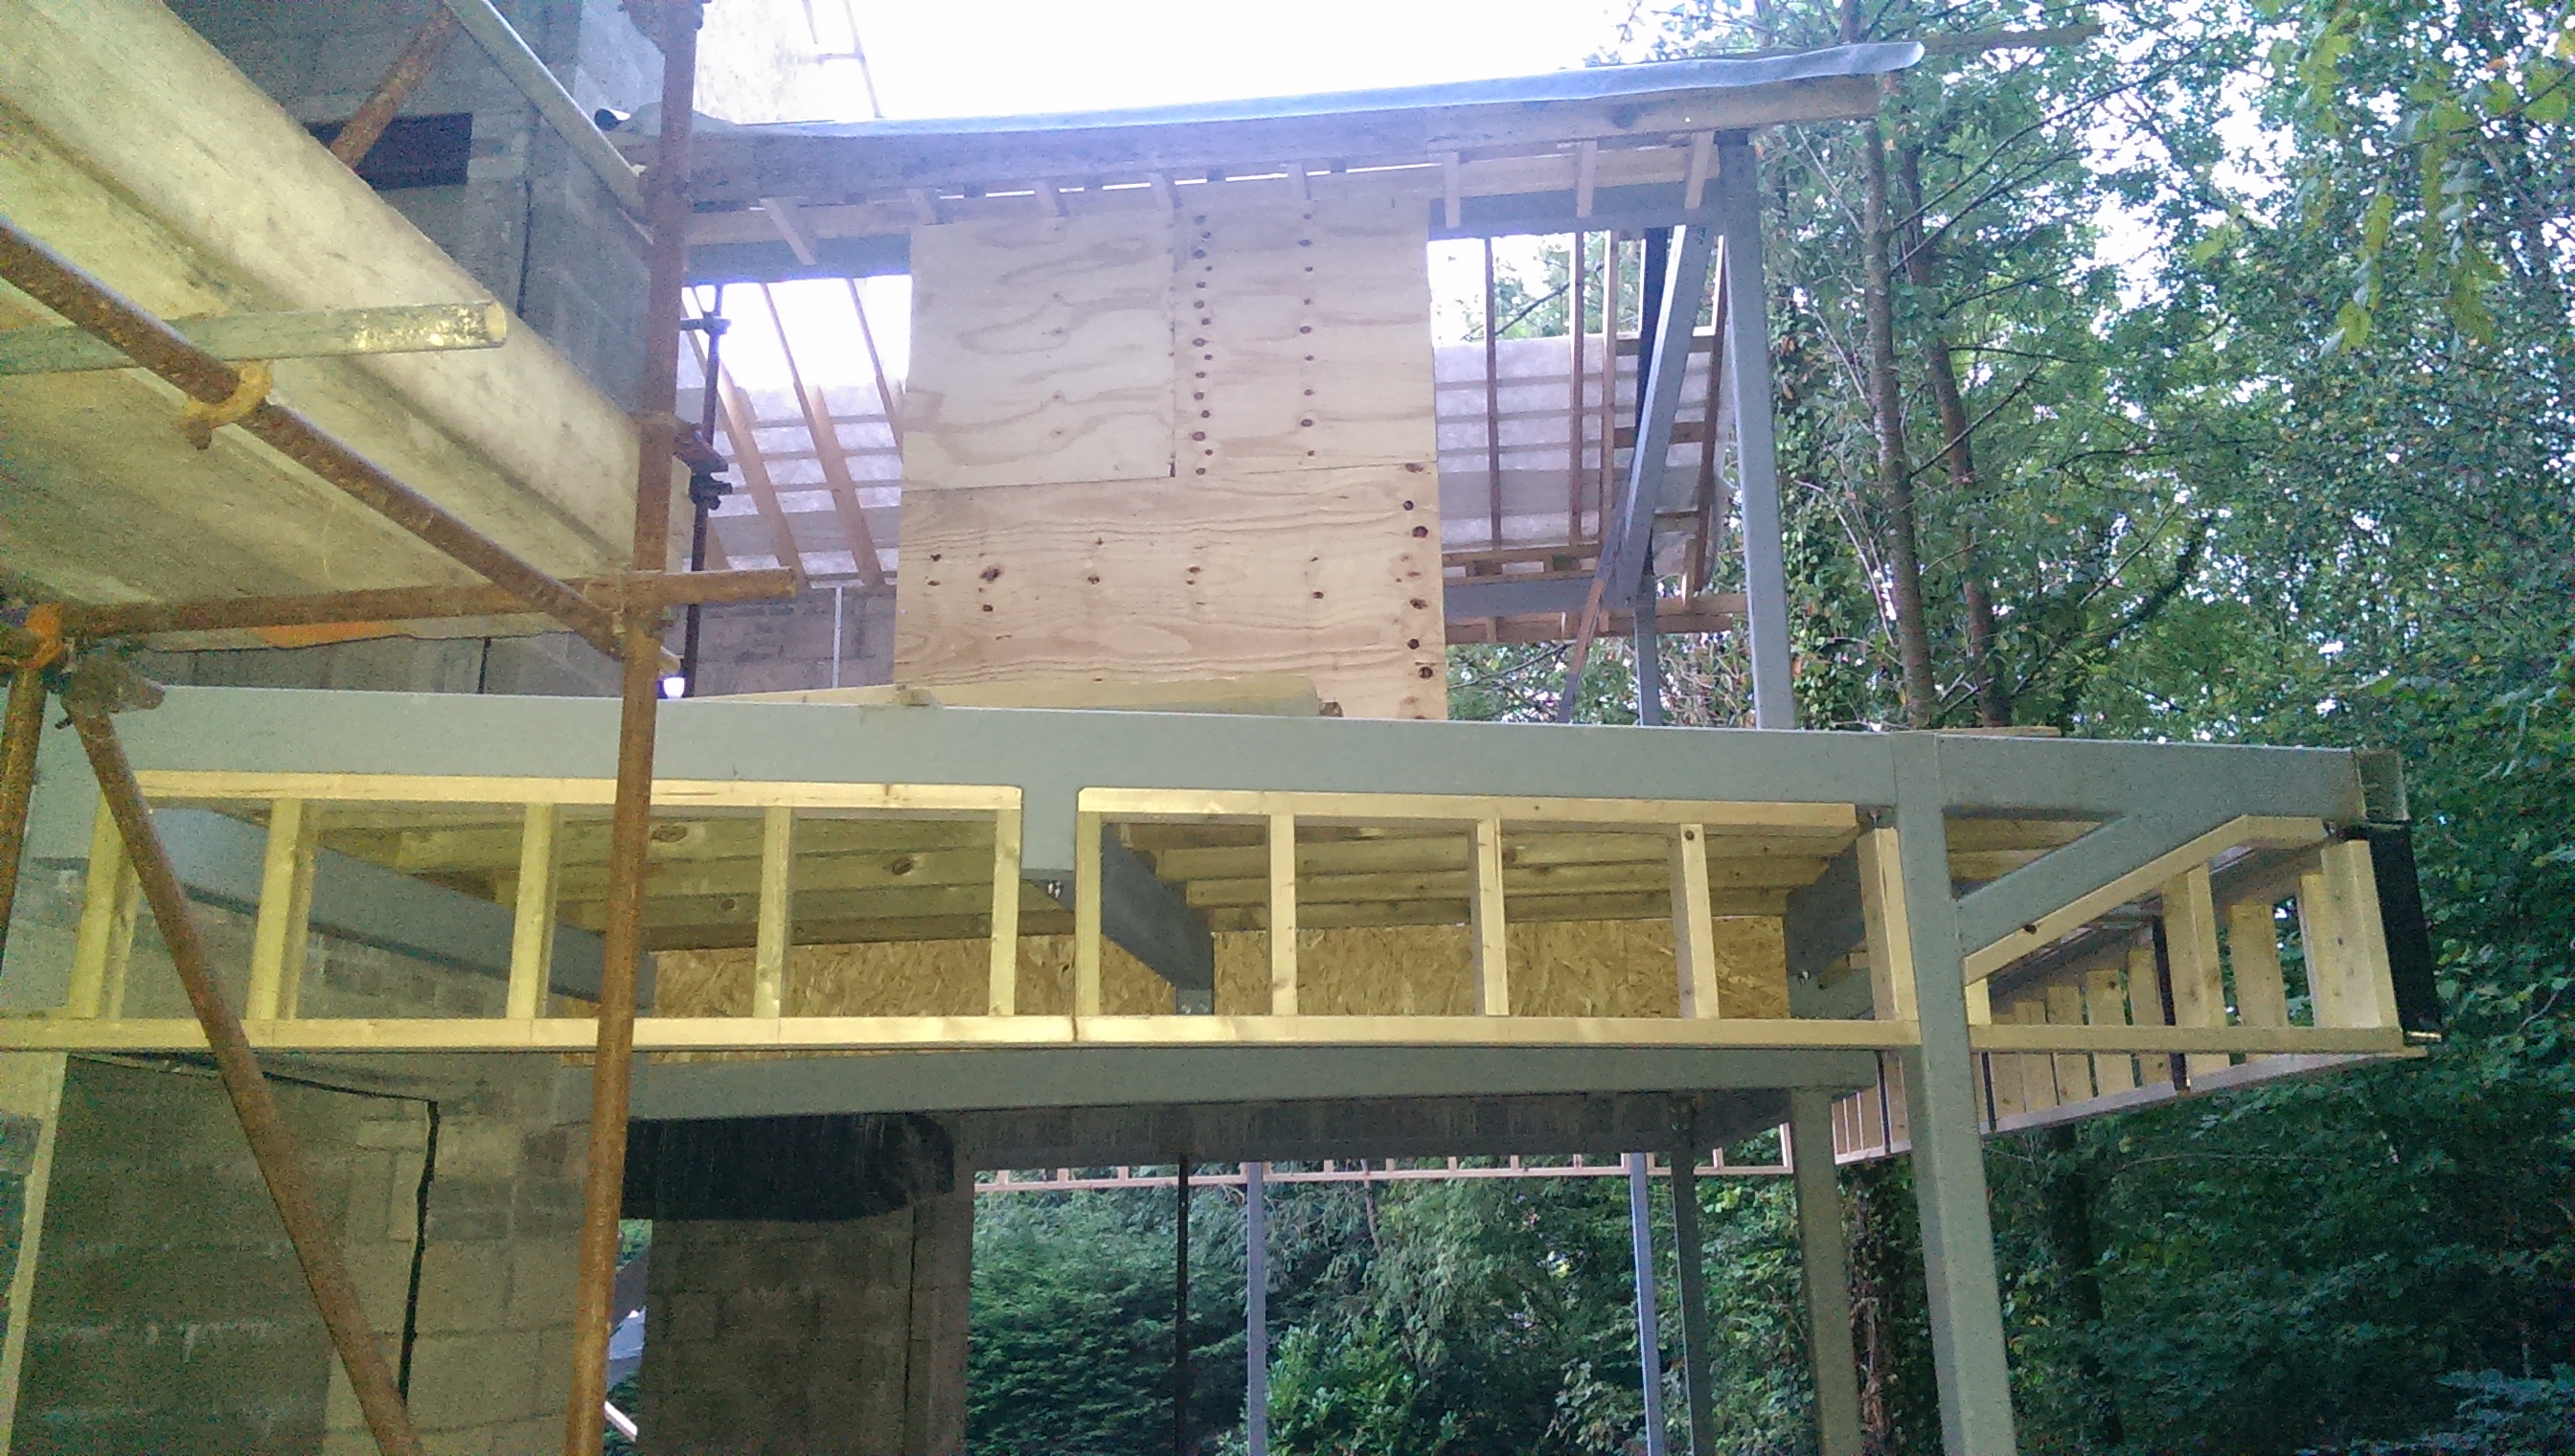
The above shows a couple of things. Firstly the cantilever room will have 1 half wall, already framed in board, either side of this will be glass, as will the other 2 walls. Secondly all around the deck is a frame that will be used to support the barge boards that will hide the steel work.
And finally! Tonight, the felt and battening is going on, very close now to seeing a watertight roof! Hooray!
The last post showed some of the roof construction, primarily the beams, going up. This work is now complete as is lots of the patching then needed to cut the walls into the roof, do the leading work, complete other bits and pieces.
Here are some of the bits and bobs.....
We need water, here is the trench and pipe ready. This runs along the front of the house.
We also need electricity, this trench runs from the pavement to the front of the house. The supply is now connected and the trench in the road filled in again. We now need to ring nPower to fit the meter
The roof starts to take shape on the back of the house and over the utility room.
Taking my life in my hands to scale the scaffolding and get a picture on top of the roof catching the view down across the road.
The 2 photos above show that the house looks quite imposing from ground level at the back.
Aside from a cheeky 14 year old (happy birthday Caitlin), this is the first photo of the roof structure over the cantilever room on the far left - a very exciting moment as this is almost the signature room of the whole design. Seeing how it was going to look was highly anticipated.
A view of the cantilever room from the front of the house at ground level.
Another photo of the cantilever room, this time from the kitchen looking out to the trees.
This above is potentially the our favourite photo so far (of all of them). This is the first bit of the whole project that is a finish, i.e, this is what the outside of the part of the house will look like, so when this wall is complete it will mark something that is complete and won't be covered up. Aside from that, the craftsmanship and the stone are beautiful. The feature wall will wrap the front right corner of the house.
Above, the wall wrapping round to the front of the house.
The above shows a couple of things. Firstly the cantilever room will have 1 half wall, already framed in board, either side of this will be glass, as will the other 2 walls. Secondly all around the deck is a frame that will be used to support the barge boards that will hide the steel work.
And finally! Tonight, the felt and battening is going on, very close now to seeing a watertight roof! Hooray!
Sunday, 31 August 2014
Up on the roof
There may well be more than one blog relating to the roof, for a couple of reasons. For one, it's not block work so a new phase of work has begun. But more importantly the roof is a key design feature for the house, simple in materials but complex in shape and designed to stand out.
Without going in to the details of the design right now, the first phase of building the roof has started over the front living room, no pre-built trusses just a load of timber fashioned into shape.
Above, from the front of the house the first phase of the roof carpentry is visible over the hallway (left) and the front living room (right). The hole on the left hand side is for the glass that will cover the hallway and allow light to flood the stairs. The two holes that can just be seen on the right are for the windows that will light up the front living room.
Without going in to the details of the design right now, the first phase of building the roof has started over the front living room, no pre-built trusses just a load of timber fashioned into shape.
Above, from the front of the house the first phase of the roof carpentry is visible over the hallway (left) and the front living room (right). The hole on the left hand side is for the glass that will cover the hallway and allow light to flood the stairs. The two holes that can just be seen on the right are for the windows that will light up the front living room.
Above the carpentry for the windows above the living room are clear, the view will be the trees and the sky.
Close up on the roof above the front living room.
Above, looking down to the hallway, the stairs is under the scaffolding in the foreground. The toilet and cloak room can be see in the middle of the photo.
Saturday, 23 August 2014
Stairway to heaven
Not very subtle - the title that is, we have a stairs, 2 stairs actually.
Obviously they are not finished, not much is. But these are custom built, fabricated in steel stairs for our house. And it is great to see a new material/feature on sight.
I know all readers will have studied the plans and understand why we have 2 stairs, but in case you haven't been paying attention....
Stairs number 1: traditional hallway stairs connecting the ground floor (upstairs living space) to the lower floor (downstairs bedroom space)
Stairs number 2: Connecting the decking to the ground, something the architect felt strongly about.
What's that, you want to see the pictures? OK then....
When I say its not finished, that's because we need to decide what the steps will look like. As can be seen each step is waiting for an insert. Also, there is no handrail. The step above is from the deck to the ground at the back of the house.
A better idea of the deck stairs above, and below....
The internal stairs is similar, we need to decide what inserts we want. The chair is not part of the stairs...
Obviously they are not finished, not much is. But these are custom built, fabricated in steel stairs for our house. And it is great to see a new material/feature on sight.
I know all readers will have studied the plans and understand why we have 2 stairs, but in case you haven't been paying attention....
Stairs number 1: traditional hallway stairs connecting the ground floor (upstairs living space) to the lower floor (downstairs bedroom space)
Stairs number 2: Connecting the decking to the ground, something the architect felt strongly about.
What's that, you want to see the pictures? OK then....
When I say its not finished, that's because we need to decide what the steps will look like. As can be seen each step is waiting for an insert. Also, there is no handrail. The step above is from the deck to the ground at the back of the house.
A better idea of the deck stairs above, and below....
The internal stairs is similar, we need to decide what inserts we want. The chair is not part of the stairs...
Saturday, 16 August 2014
Deck the halls
The frame went up last week, this week has been about the evolving frame and some subtle additions to the structure of the house that now give an inkling of what the house might feel like to live in.
First of all the deck, it is now possible to view the floor of the cantilever room and the outer deck. As well as this, the lower ground floor externals look more like they should do outside the kids bedroom with the floor above taking shape and the external ground becoming something that you can walk on easily.
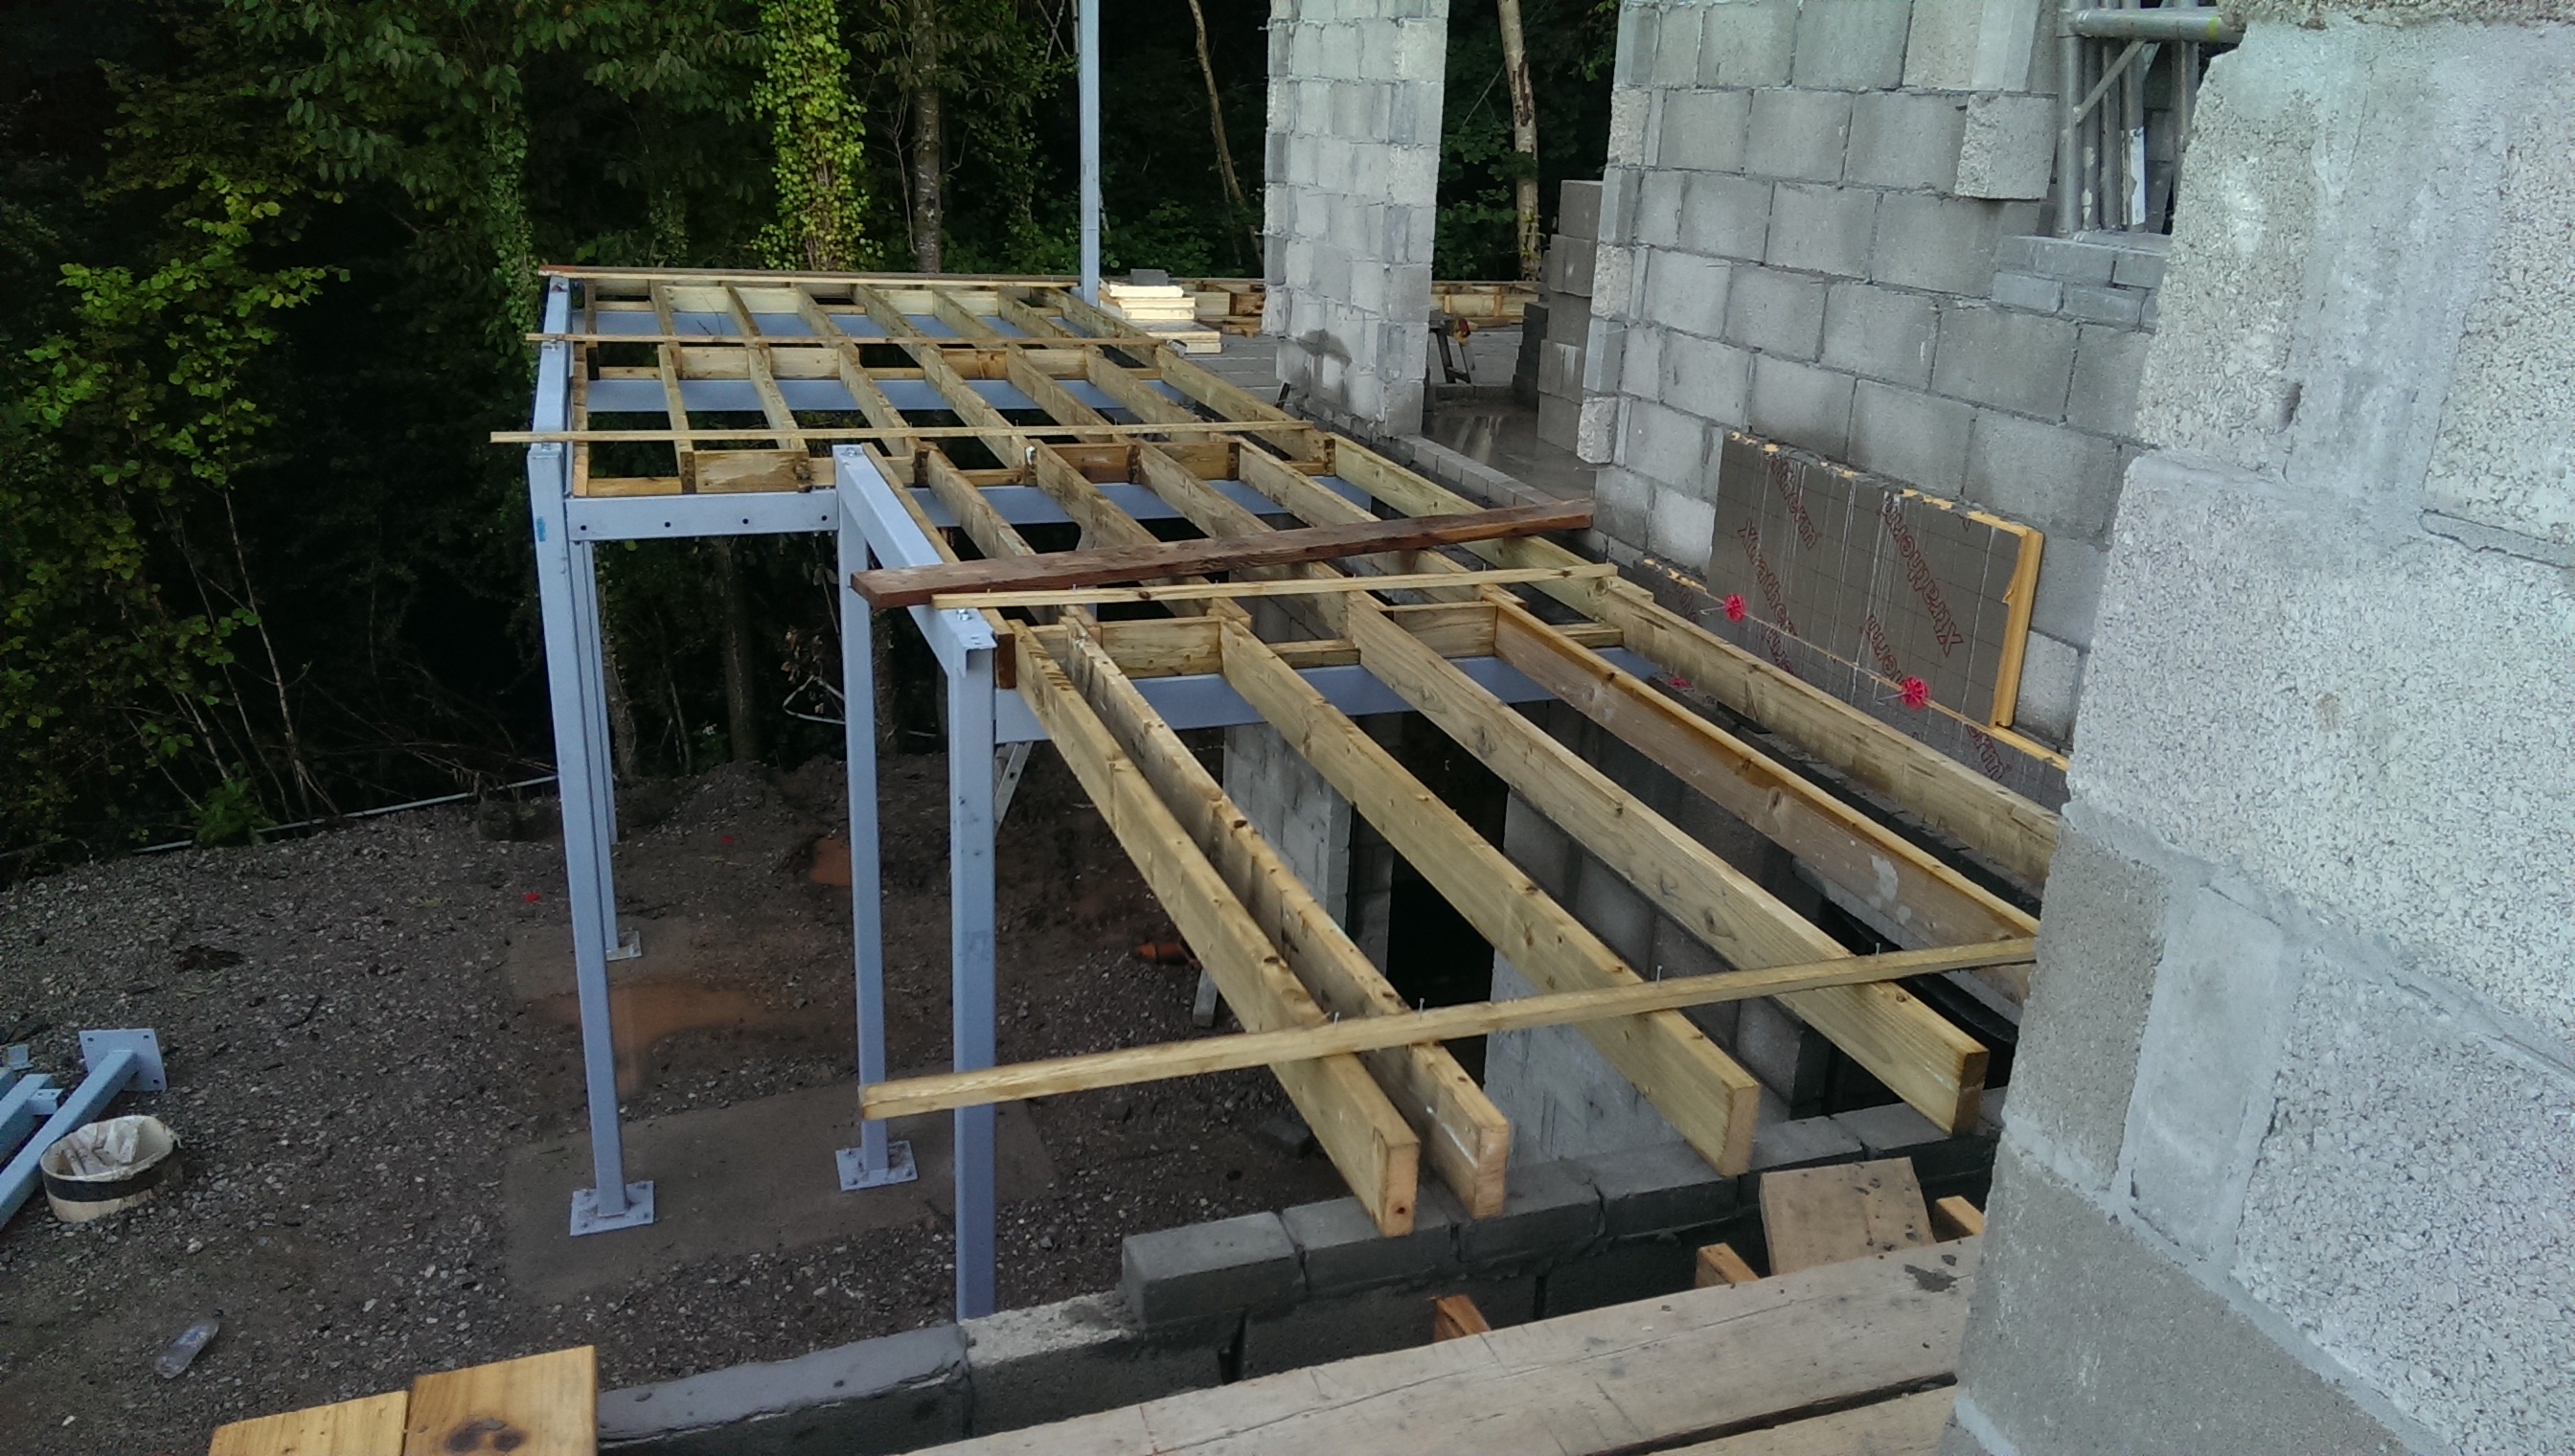
In the previous blog the steel frame (galvanised) was installed but that was it...above you can see the block and beam for the floor of the cantilever room. The empty frame around it will be a deck outside and around the room. Accessible from a number of places, including the snug at the front of the house.
Above, another shot of the cantilever room and its block and beam floor built. This one was taken from inside the snug and gives an idea of the views from the snug.
Above, the timbers to support the deck are cut and secured. We want the deck levels to be the same as the internal flooring.
From the lower ground floor, life under the deck. My lovely model demonstrates the scale of the frame and the deck, the view above is along the side of the house where Ellie (who will be in Liverpool when we move in) and Caitlin have their bedrooms.
The view along the back of the house with deck taking shape above. To the left is Ellie's room, in the middle is the master bedroom.
Above the view from Ellie's room and Caitlin's room
Inside the ground level floor what has become apparent is how high the ceilings will be in the living rooms. Above you can see how high the ceiling will be in the front living room, this picture shows the doorway in the kitchen that leads to the hall where our lovely model again demonstrates the how high the ceiling will be in the kitchen over this wall.
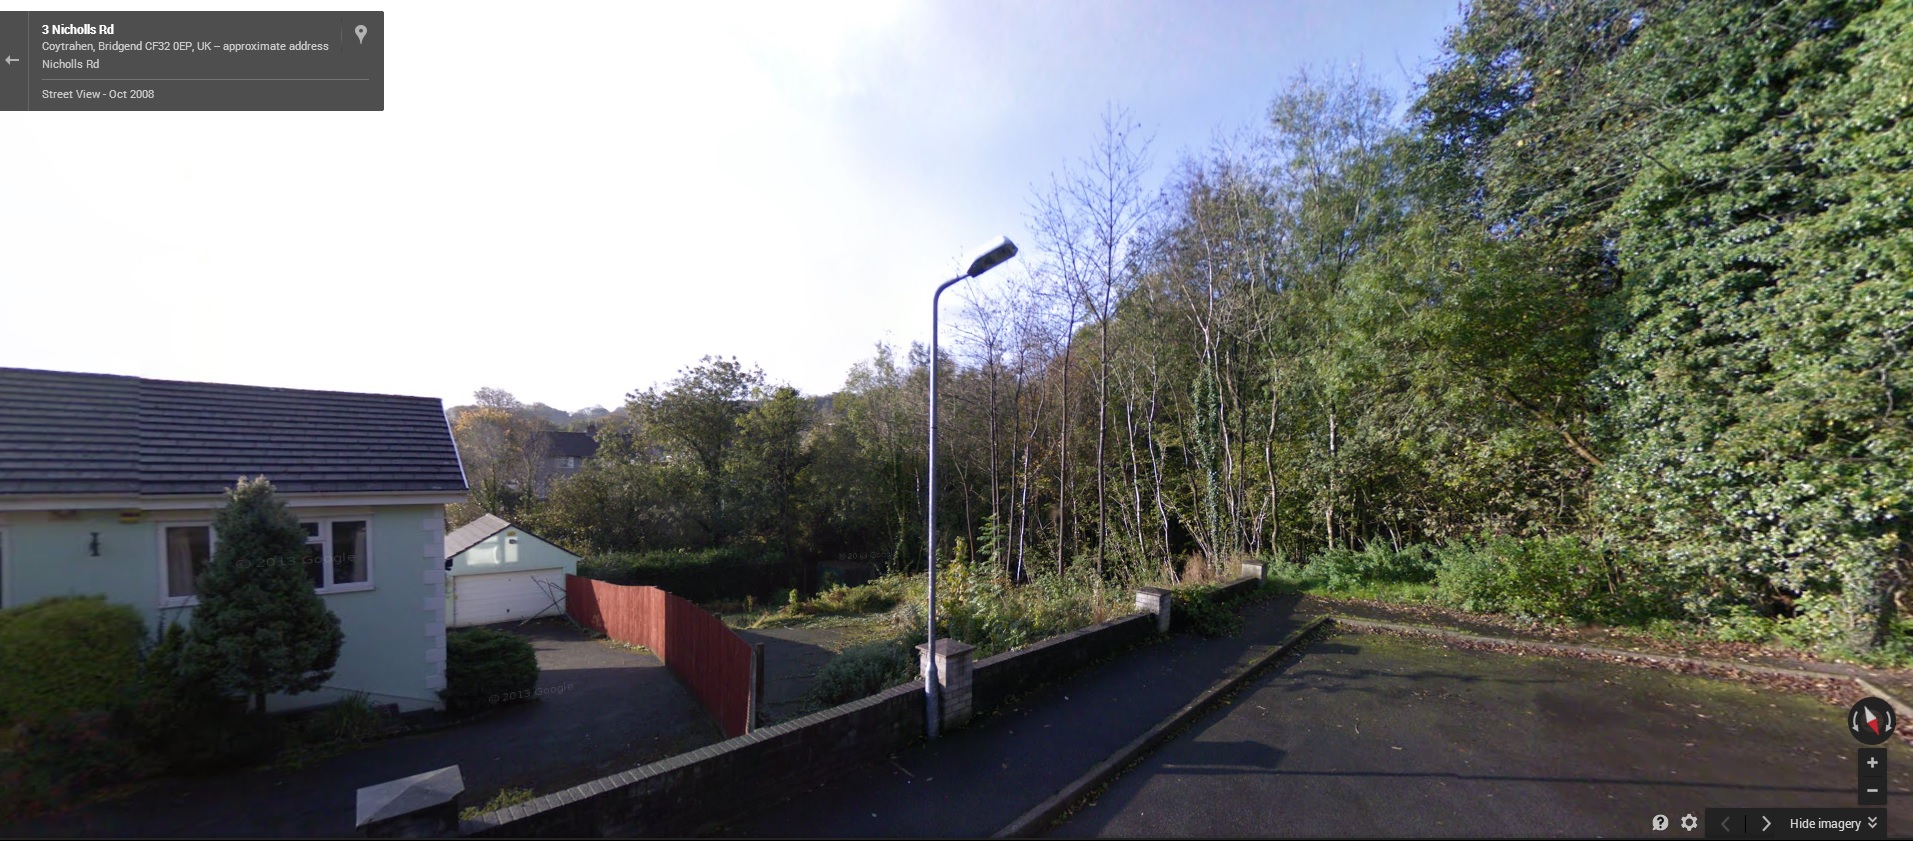
Above, and finally what the house looks like from the road - above August 2014, below October 2008 (courtesy of Google street view).
First of all the deck, it is now possible to view the floor of the cantilever room and the outer deck. As well as this, the lower ground floor externals look more like they should do outside the kids bedroom with the floor above taking shape and the external ground becoming something that you can walk on easily.
In the previous blog the steel frame (galvanised) was installed but that was it...above you can see the block and beam for the floor of the cantilever room. The empty frame around it will be a deck outside and around the room. Accessible from a number of places, including the snug at the front of the house.
Above, another shot of the cantilever room and its block and beam floor built. This one was taken from inside the snug and gives an idea of the views from the snug.
Above, the timbers to support the deck are cut and secured. We want the deck levels to be the same as the internal flooring.
From the lower ground floor, life under the deck. My lovely model demonstrates the scale of the frame and the deck, the view above is along the side of the house where Ellie (who will be in Liverpool when we move in) and Caitlin have their bedrooms.
The view along the back of the house with deck taking shape above. To the left is Ellie's room, in the middle is the master bedroom.
Above the view from Ellie's room and Caitlin's room
Inside the ground level floor what has become apparent is how high the ceilings will be in the living rooms. Above you can see how high the ceiling will be in the front living room, this picture shows the doorway in the kitchen that leads to the hall where our lovely model again demonstrates the how high the ceiling will be in the kitchen over this wall.
Above, and finally what the house looks like from the road - above August 2014, below October 2008 (courtesy of Google street view).
Subscribe to:
Posts (Atom)