Well, haven't been on site for a couple of days, so it was relatively exciting to visit tonight. It is hard not to visit every night, so you see changes but they are small changes. If you can stay away for a couple of days or more your reward is to see a more significant change.
Tonight we started to get a feel for the scale of the place, with a doorway downstairs in place and fully defined. Also the beams for the upstairs block and beam floor have started to arrive on site. A sign that the block work downstairs is soon to be complete.
Above, the key supporting wall running the length of the hallway is at full height. Master bedroom in foreground, spare bedroom in the distance.
Above, the master bedroom walls nearly at full height.
The door to the master bedroom from the other side (hallway).
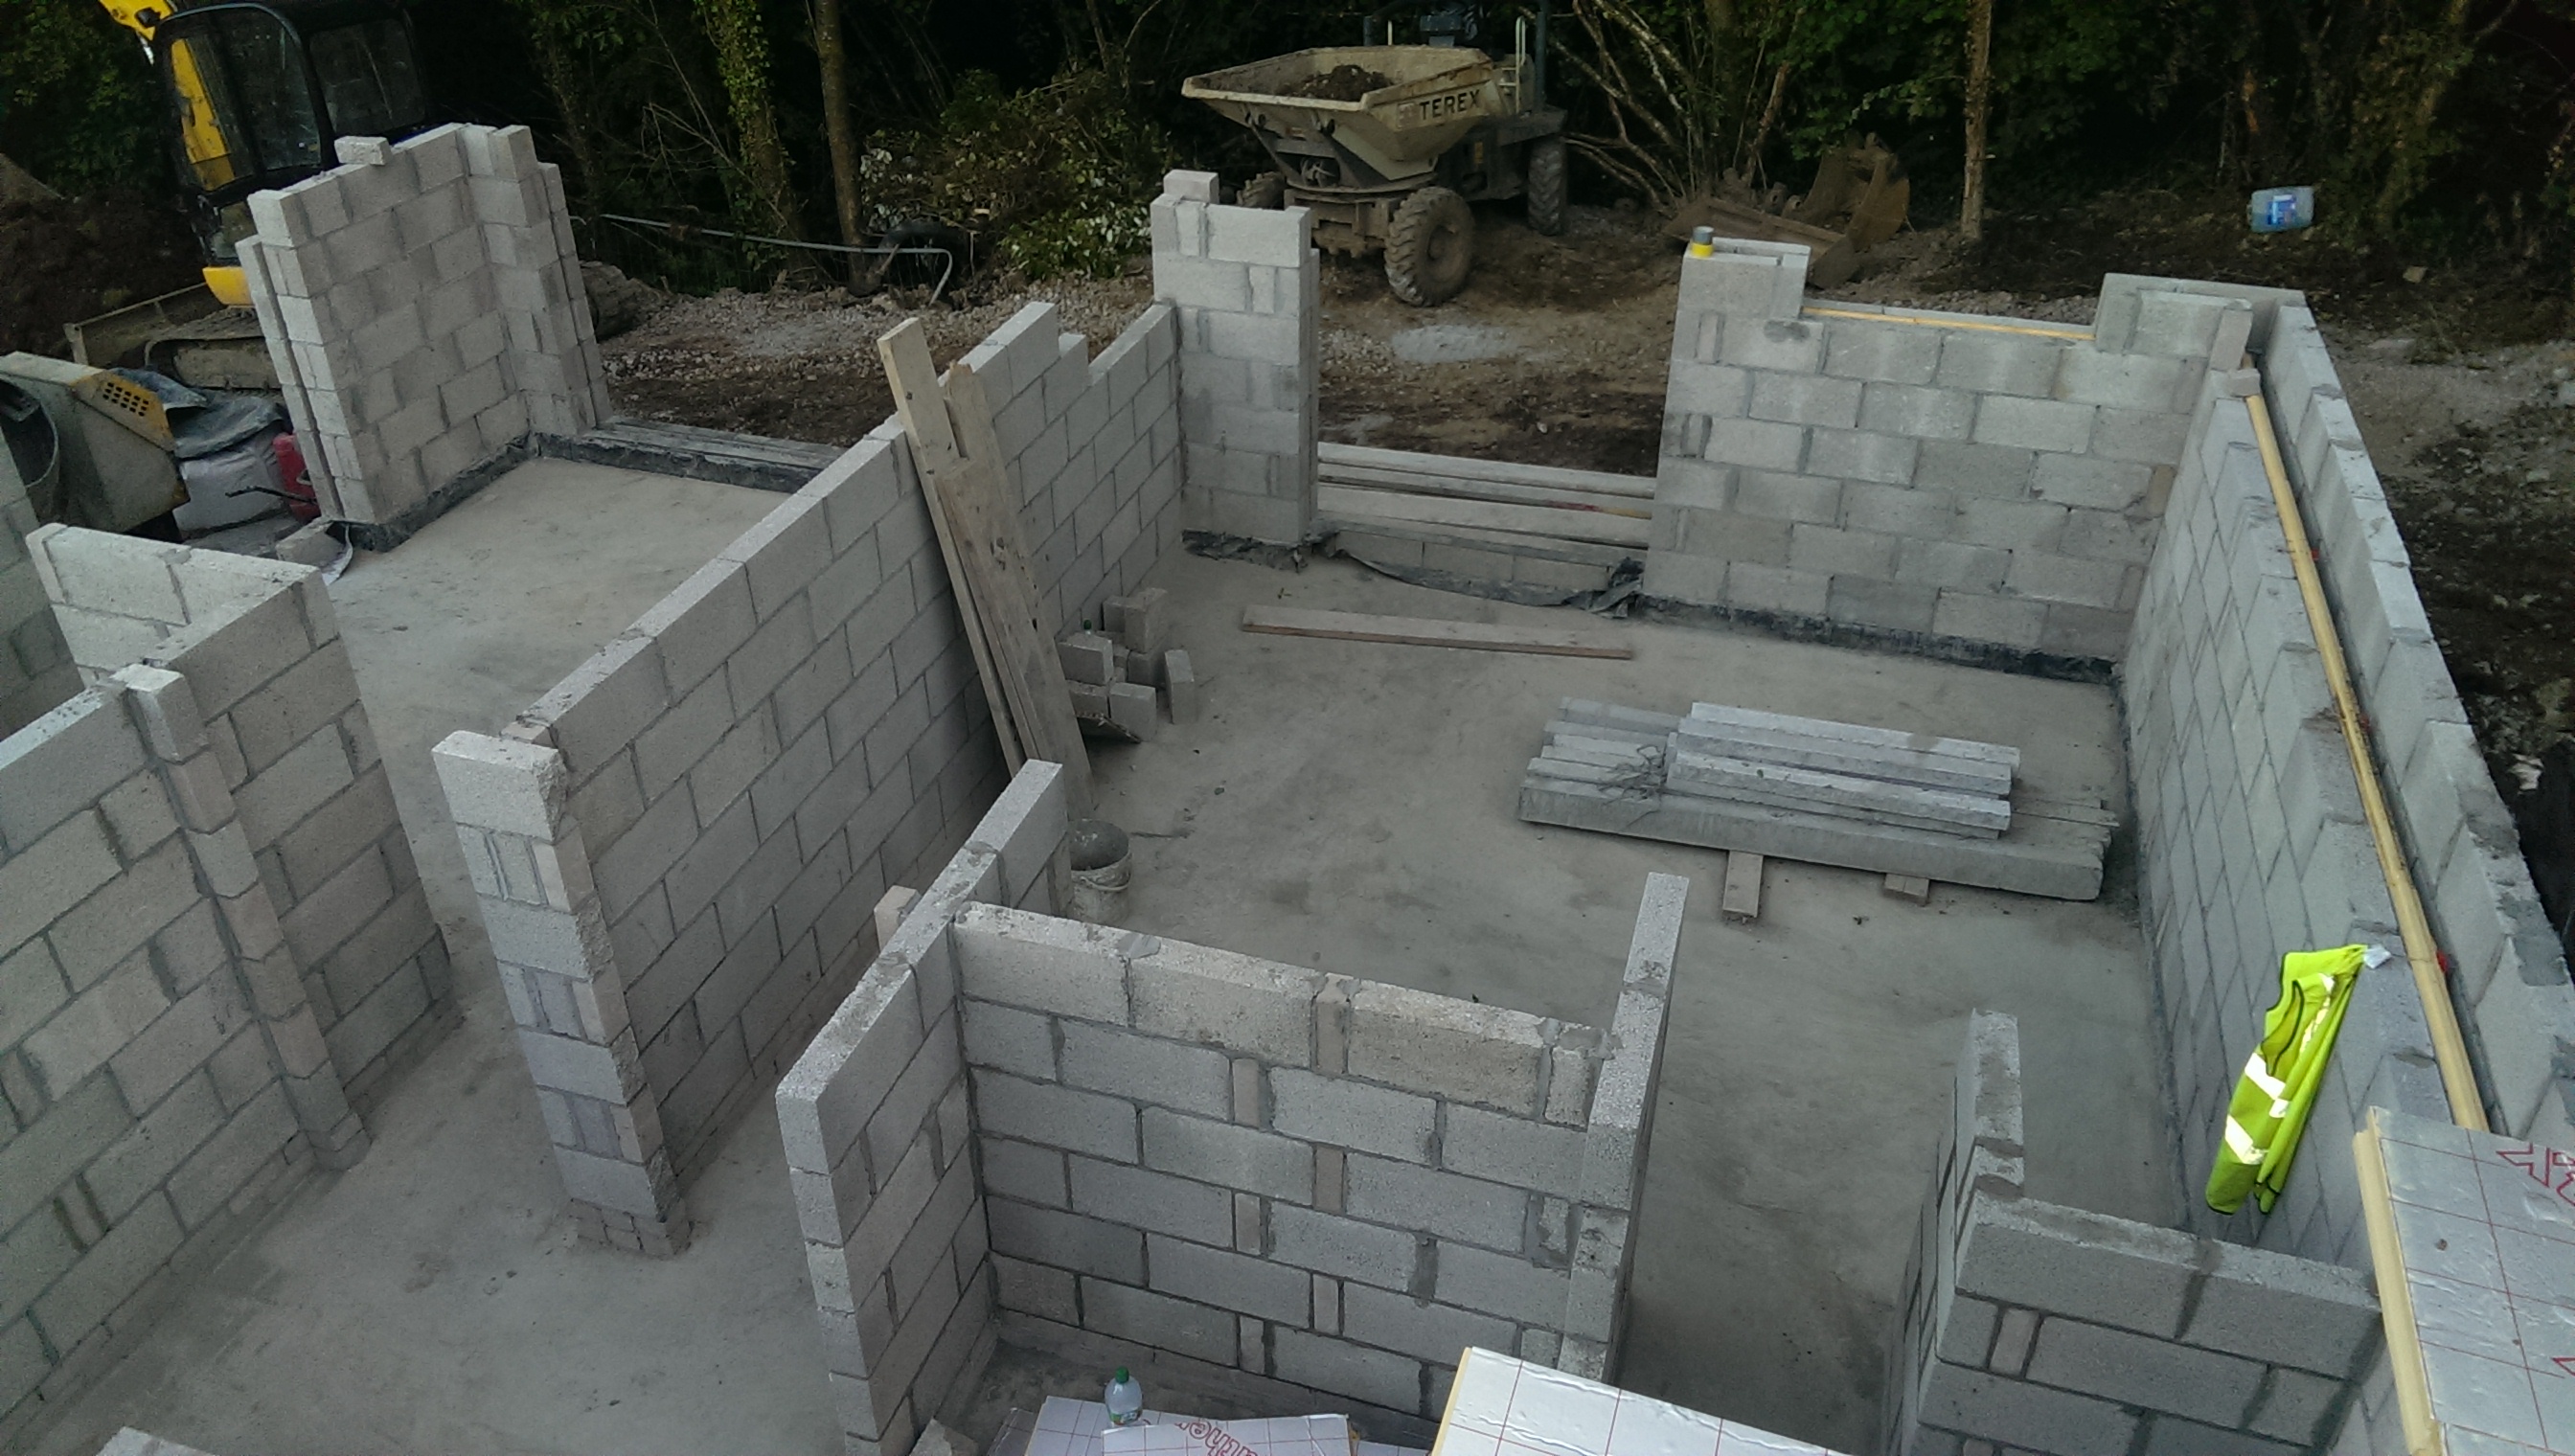
Classic ariel shot of the new wall and door!
Over the last couple of days we have seen the rooms take shape as the internal walls have started to rise from the ground. With most of the internal walls now built to a few blocks in height we can get a real feel for the rooms, especially the Ellie and Caitlin's bedrooms.
You can see a lot of the house in the photo above - taken from outside the temporary toilet! The village is lit up with the evening sun in the distance.
A good view of Caitlin's room, bottom right is the door into her bathroom. The plan is to make it look like a wardrobe from the bedroom side, almost a secret door.
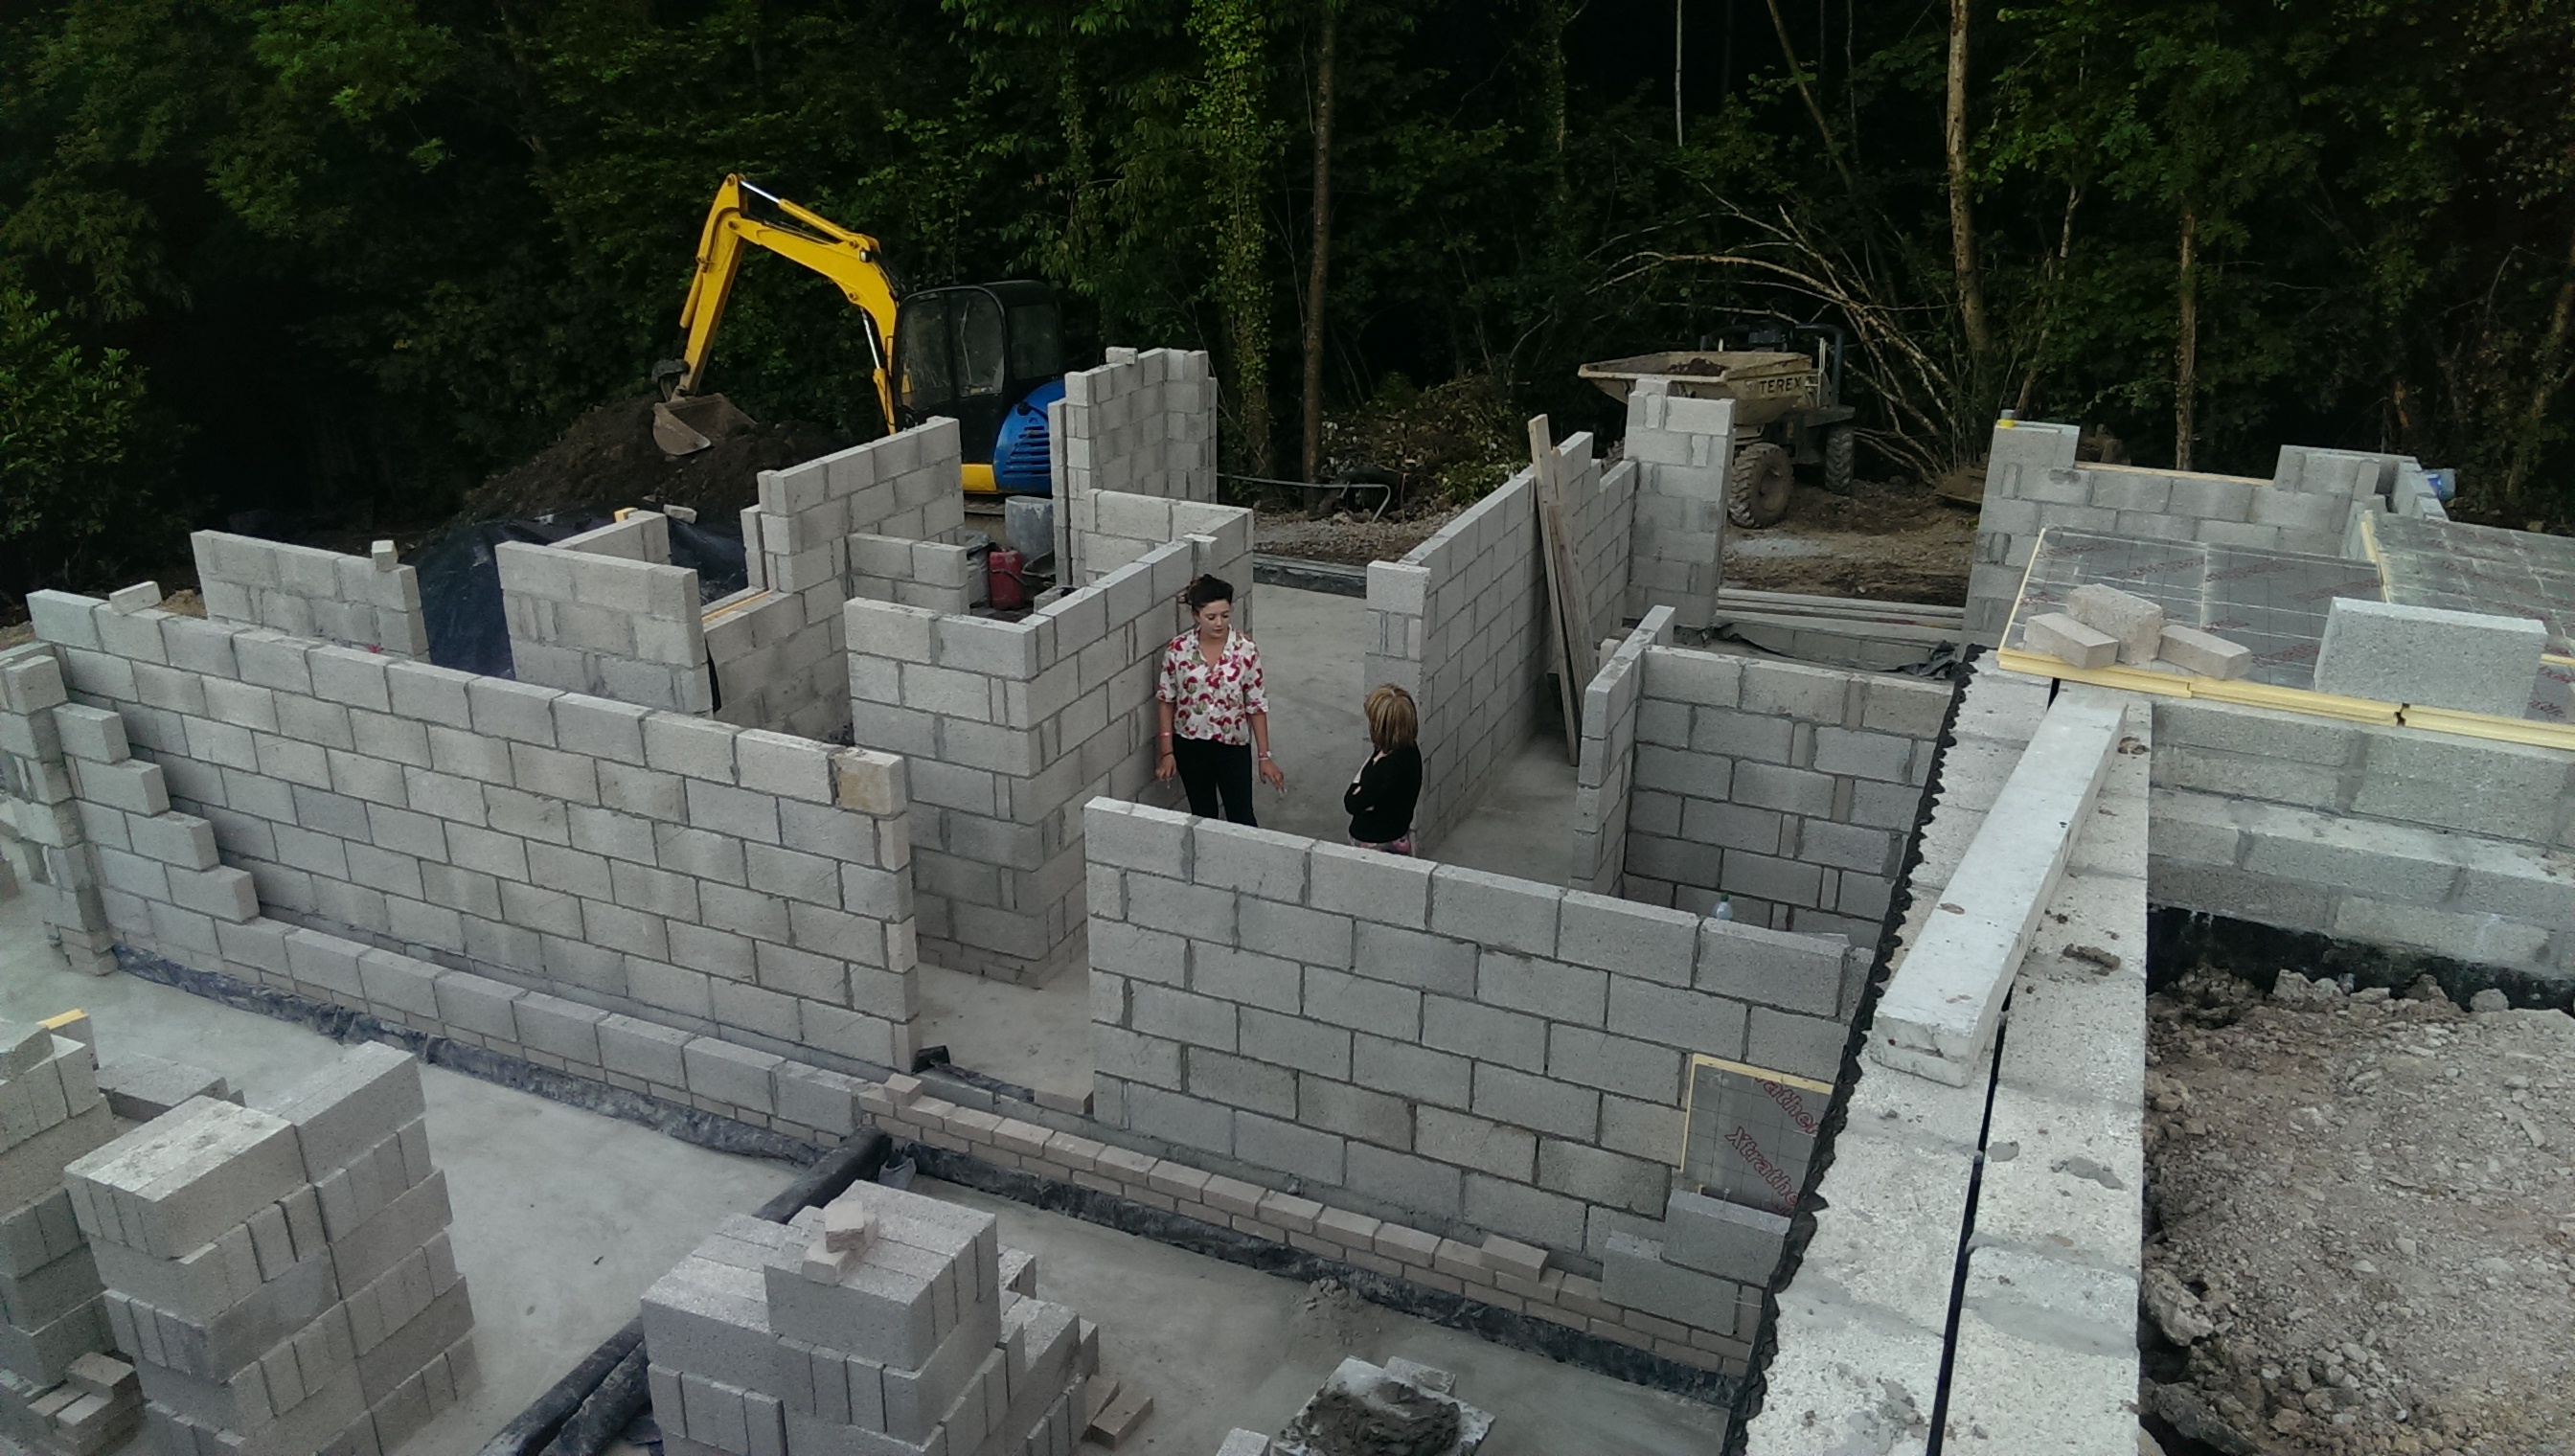
Ellie stood in the downstairs hallway, her bathroom on her right shoulder and her bedroom door behind her. She is looking into the spare bedroom, not sure why...
Same sort of photo with Rhian getting into the photo action.
Rhian and Ellie, the catalogue models, still stood in the downstairs hallway. This photo taken from the neighbours side looking back toward the trees. The wall in the foreground seperates the hallway from the spare bedroom and then the master bedroom.
I think this is my favourite photo, taken from the back wall of the master bedroom (far end of the house) looking back up the newly built walls of the downstairs hallway. Gives a cool perspective of the house and its scale.
Standing in Caitlin's window looking toward her bathroom door.
Some snaps of the outside of the house, in most cases there is work to do and this is not how the finished house will look. But in the case of the back garden we are not planning to do much, so it will be basically a sloping space of top soil.
The 2 photos above show the quad at the back of the house. The land needs to be built up here, you can see the exposed man hole for example and the gap in the block work where the drains leave the house. Ellie's bedroom and the master bedroom look onto this space, it will be paved eventually. Above this space, above Ellie's bedroom, will be a deck that over hangs by 1-2 metres.
Manhole at the back of the master bedroom, again making it clear the land still needs to be built up. A path will run along the back of the room against the wall in the picture.
The corner of the master bedroom shows the path that needs to be laid along the side of the house to the steps that get you up to street level at the front.
Standing under the trees looking back in to Caitlin's room (left) and Ellie's room (right).
Some more photos of this inside, work has slowed down a bit so the guys doing the bitumen work can work in safety (hot tar being wheeled around site).
However, there are now rows of bricks defining the exact outlines of the rooms, which I have also annotated. For the first time since we started, what we see on site really resembles the drawings.
Above, I have annotated the photo to show which room is which. The corridor with the pipes lying through it is the "landing" space, the stairs will come down to roughly where the pipes are. The 2 rooms between the spare bedroom and the master bedroom belong to the master bedroom.
Above, Caitlin's room from above. Bathroom is bottom right. Middle right is space in the "landing" area for a washing machine, this is to avoid carting the laundry upstairs.
Above, the views from Ellie's room (left) and Caitlin's room (right).
Finally, the view from the master bedroom to the trees.
A bit technical, but stick with me. You need to keep moisture out of the house. Damp, water, whatever. It needs to be kept at bay. The challenge we face is that the retaining walls that have been built (the ones visible from the moon!) are supporting a lot of mass that can retain water. Water as we know will find its way out of the tiniest of spaces, hence capillary action (school boy physics).
So what is called for is tons of bitumen to be plastered onto the inside faces of the retaining walls, the water will hit this and head south to the land drain and away from the house. Hooray!
A bi-product of this is that in the photos the steps have more definition.
As you can see on the right hand side of the last two photos, still some work to do.
We all do it, it has to be mentioned, and I am quite proud of our approach. Basically, sh!t needs shovelling, and this is how we are going to do it.
I will write a future blog about the environmental aspects of the build, but for now this is how we shovel what needs to be shovelled. The thing to remember here is we do not have a connection to the mains sewerage, and that would have been a challenge as we are below road level.
The bio-digester and the hole that it is going to be sited in. It has to be below the level of the house so gravity can do its work.
So, in case you didn't believe me, here it is buried in the hole. Trenches have been dug so that pipes can pass the waste in for chemical treatment, and then out so the "fresh water" the waste is converted into soaks into the water course. An inspection tower is half way between the unit and the end of the pipework.
The inspection tower and the trench to take the pipe (and the waste) out to the water course.
Same thing different angle.
Now you see them, now you don't...
As mentioned in the last blog, walls are starting to appear. Houses are built with cavity walls (one wall inside another), we are now seeing the outer cavity being built. This is quite a time for us as we now see a house rather than blocks and concrete that will be essentially buried and not seen - groundwork.
The brickies start with the corners so the lines are right and then build out from there, this is what we found Thursday and Friday - and it was the best visit since day 1 when we saw the ground broken.
These photos are dedicated to Granny Lynn - this might be the first time she has been referenced on the internet and has only be browsing the internet for a few weeks but has read all the blogs so far. Lynn - the internet won't read itself, you can sleep later!
All the walls you can see are outer walls.
Classic building technique, starting with the coins (corners). This is a corner of Caitlin's bedroom. The gap to the left will be glass doors giving a view of the forest. On the right you can see the outer skin meeting the steps down the front of the house.
Caitlin gurning in the master en-suite. The pipes are lying in the downstairs hallway. To the right of the pipes is Ellie's bathroom. This will have a door from the hallway to act as a main bathroom.
Above, if you can see the small blocks built in the middle of the photo this marks the border between Caitlin's bedroom in the foreground and Ellie's bedroom in the background. Both rooms have large openings for doors that will provide views of the forest. Ellie's room also has a view to the back garden which can be seen to the left of the photo.
The master bedroom view to the forest. The only thing with this is we now think its too narrow. Call to the architect on Monday to make a change. As this will be the main window for the bedroom we need to be sure it is going to provide enough light, and we don't want to wish we changed it when it's too late. So this needs to grow by half again.
Here is the whole shooting match. It's great to be able to look down on the whole thing.
Safe to say milestone 2 has been reached, milestone 1 was probably getting started and breaking ground. Milestone 2 is getting out of the ground, up to DPC level, slab down and all the ground works over (apologies for the technical talk!).
The site is now being cleared so that the "real" work can start, "real" meaning the stuff that makes it a house. Over the next couple of weeks the downstairs wall will start to look like parts of the house.
As anyone who knows a thing about bricklaying knows, you start with the coins (that's corners to you), this week saw the start of a new phase as the corners appeared. However, before that the final work started on back filling the driveway, no longer to we have to parachute from the pavement to the site.
It can be seen above that the new driveway has nearly got to where it needs to.
Front steps looking like steps.
The house side of the driveway, nearly up to the level it needs to be. On the other side of this wall is a 15 foot drop.
An old photo to highlight how much the work at the front has evolved.